Potting Bench + Backyard Updates
We finally finished making a big update to our backyard, including transforming a found table into my dream potting bench! I’m excited to share the step by steps in case you are inspired to transform a piece of furniture. Although I will say, I am not usually a DIYer and this project would not have been possible without the help and direction from my dad!
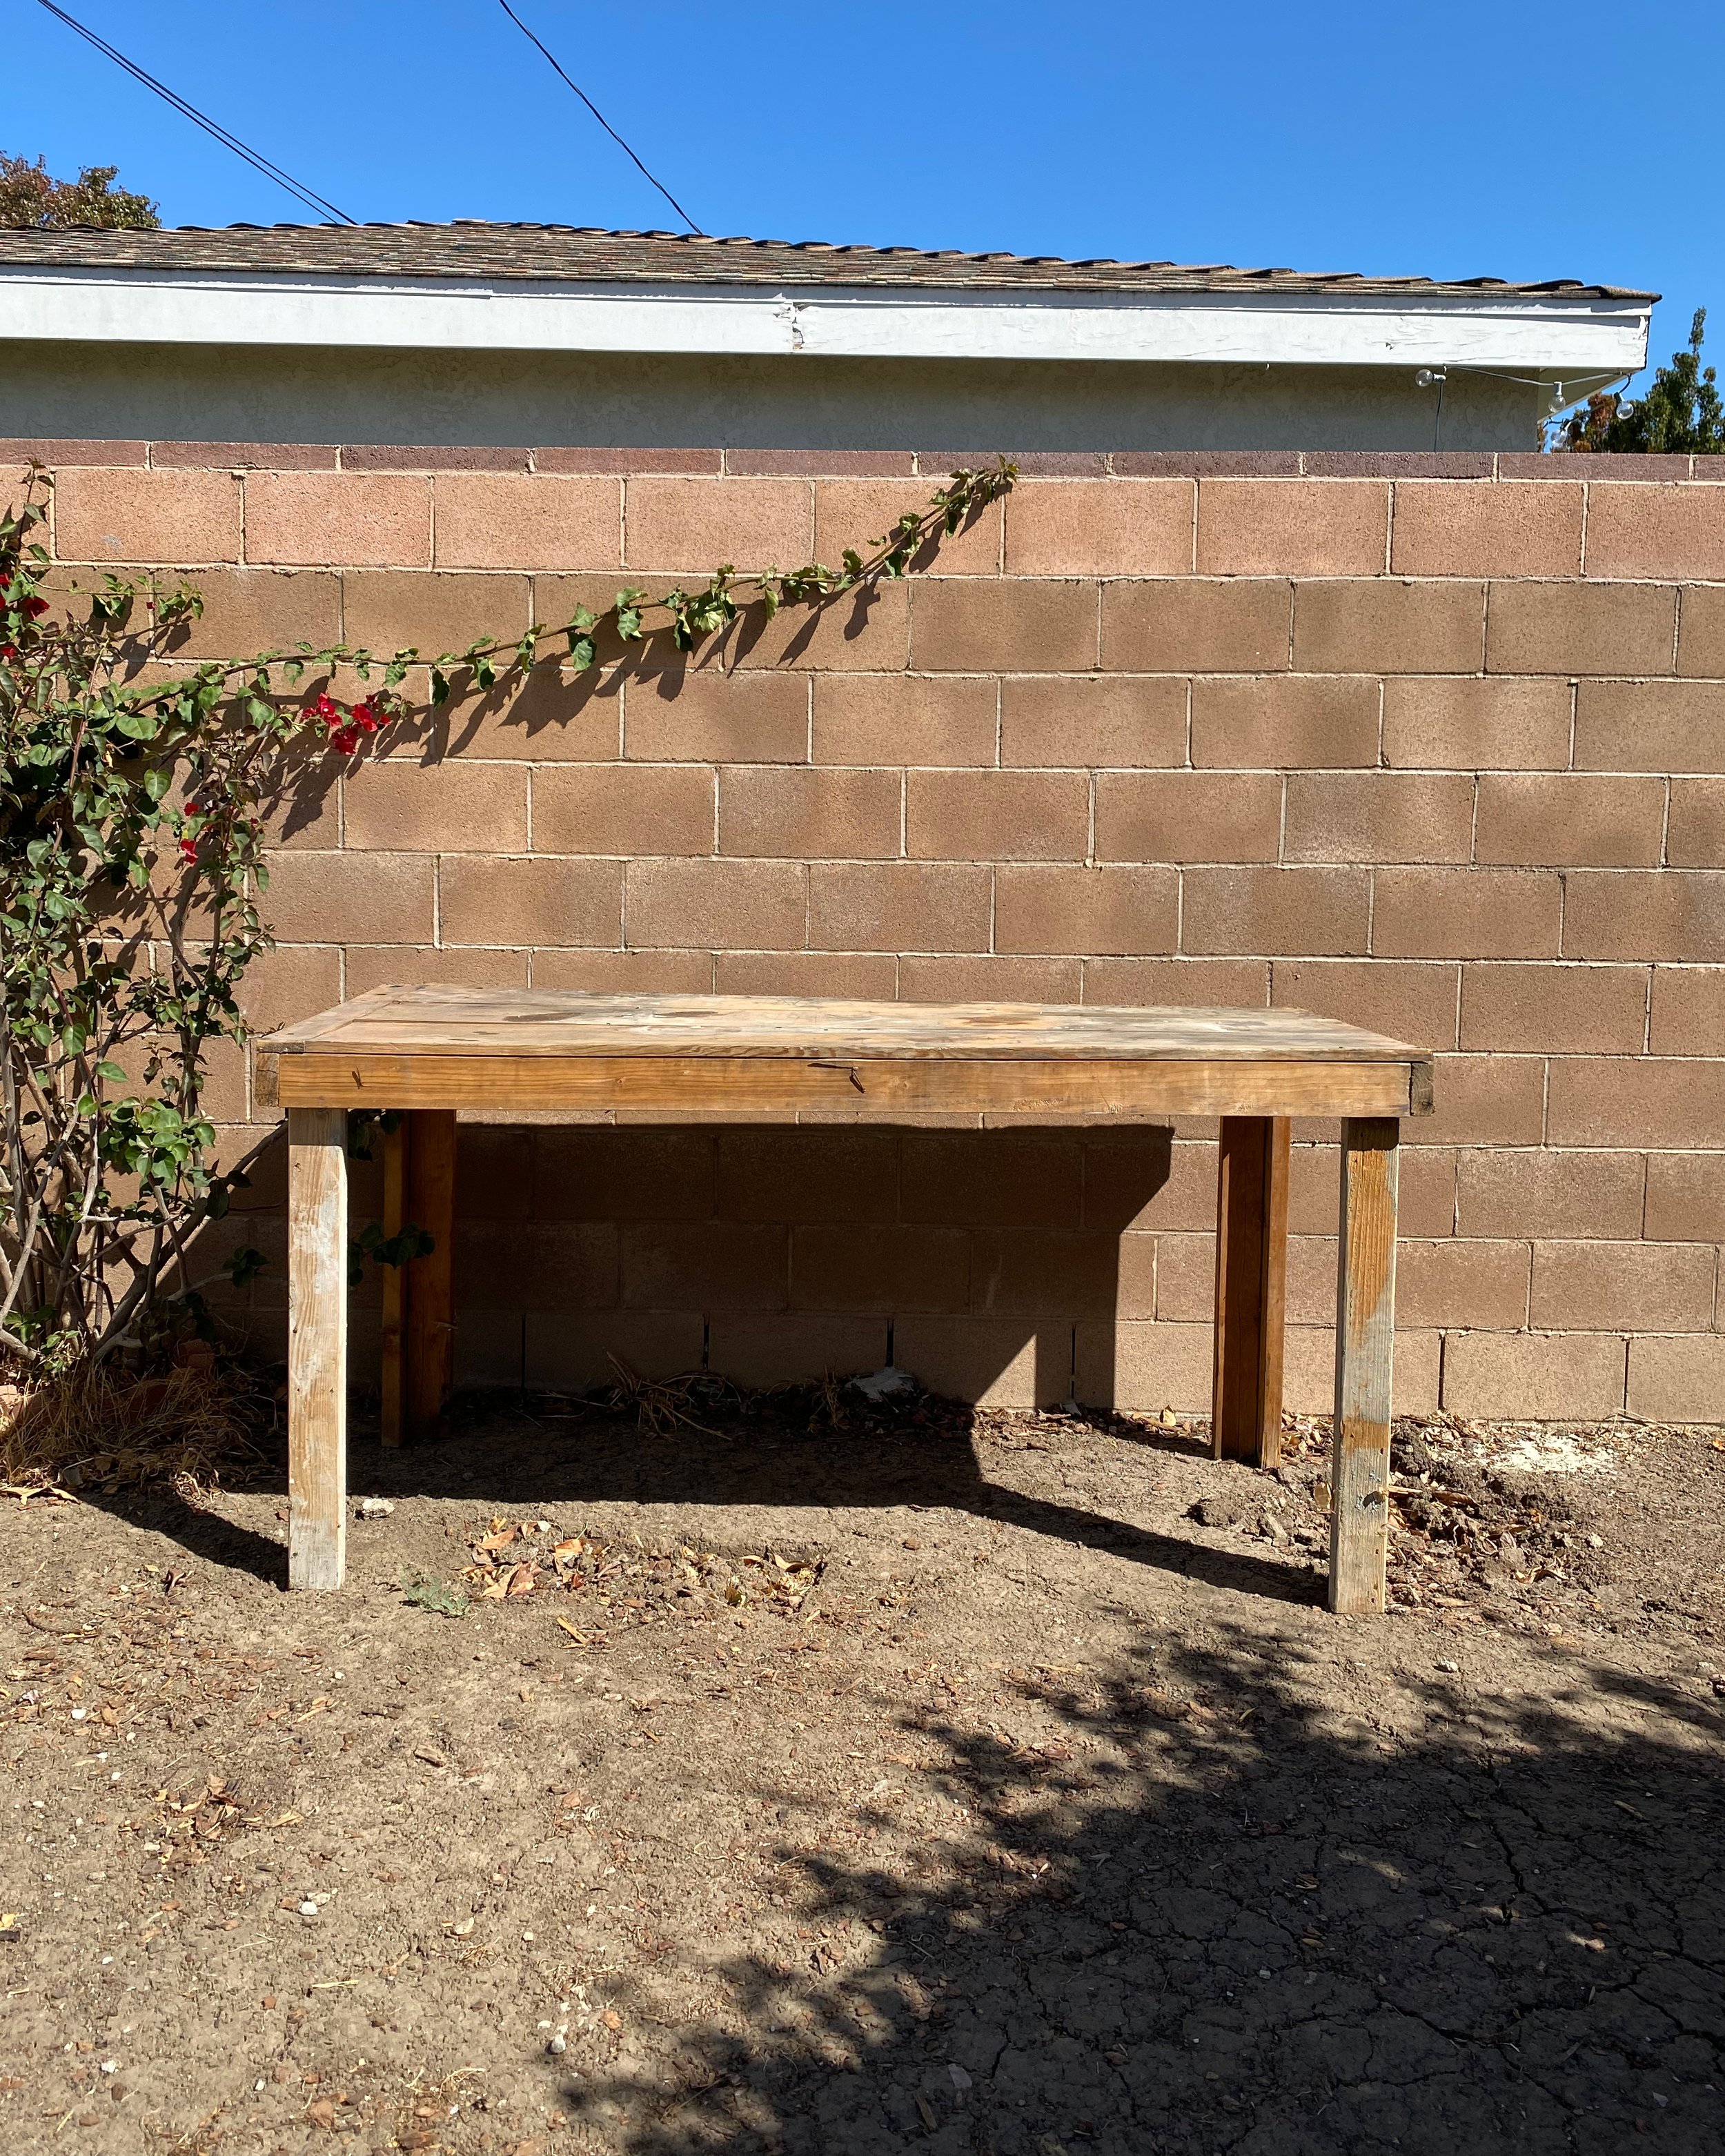
This corner of our yard was not being utilized at all and was basically a giant pile of woodchips. It had become such an eyesore and we were determined to make it into usable space, as well as an area for me to keep all of my gardening stuff. It was such a fun project to work on and see come together!

BEFORE:
Here is a list of what we used to transform our found table into a potting bench…
- table
- tongue & groove boards for shelf + back
- wooden shelf brackets
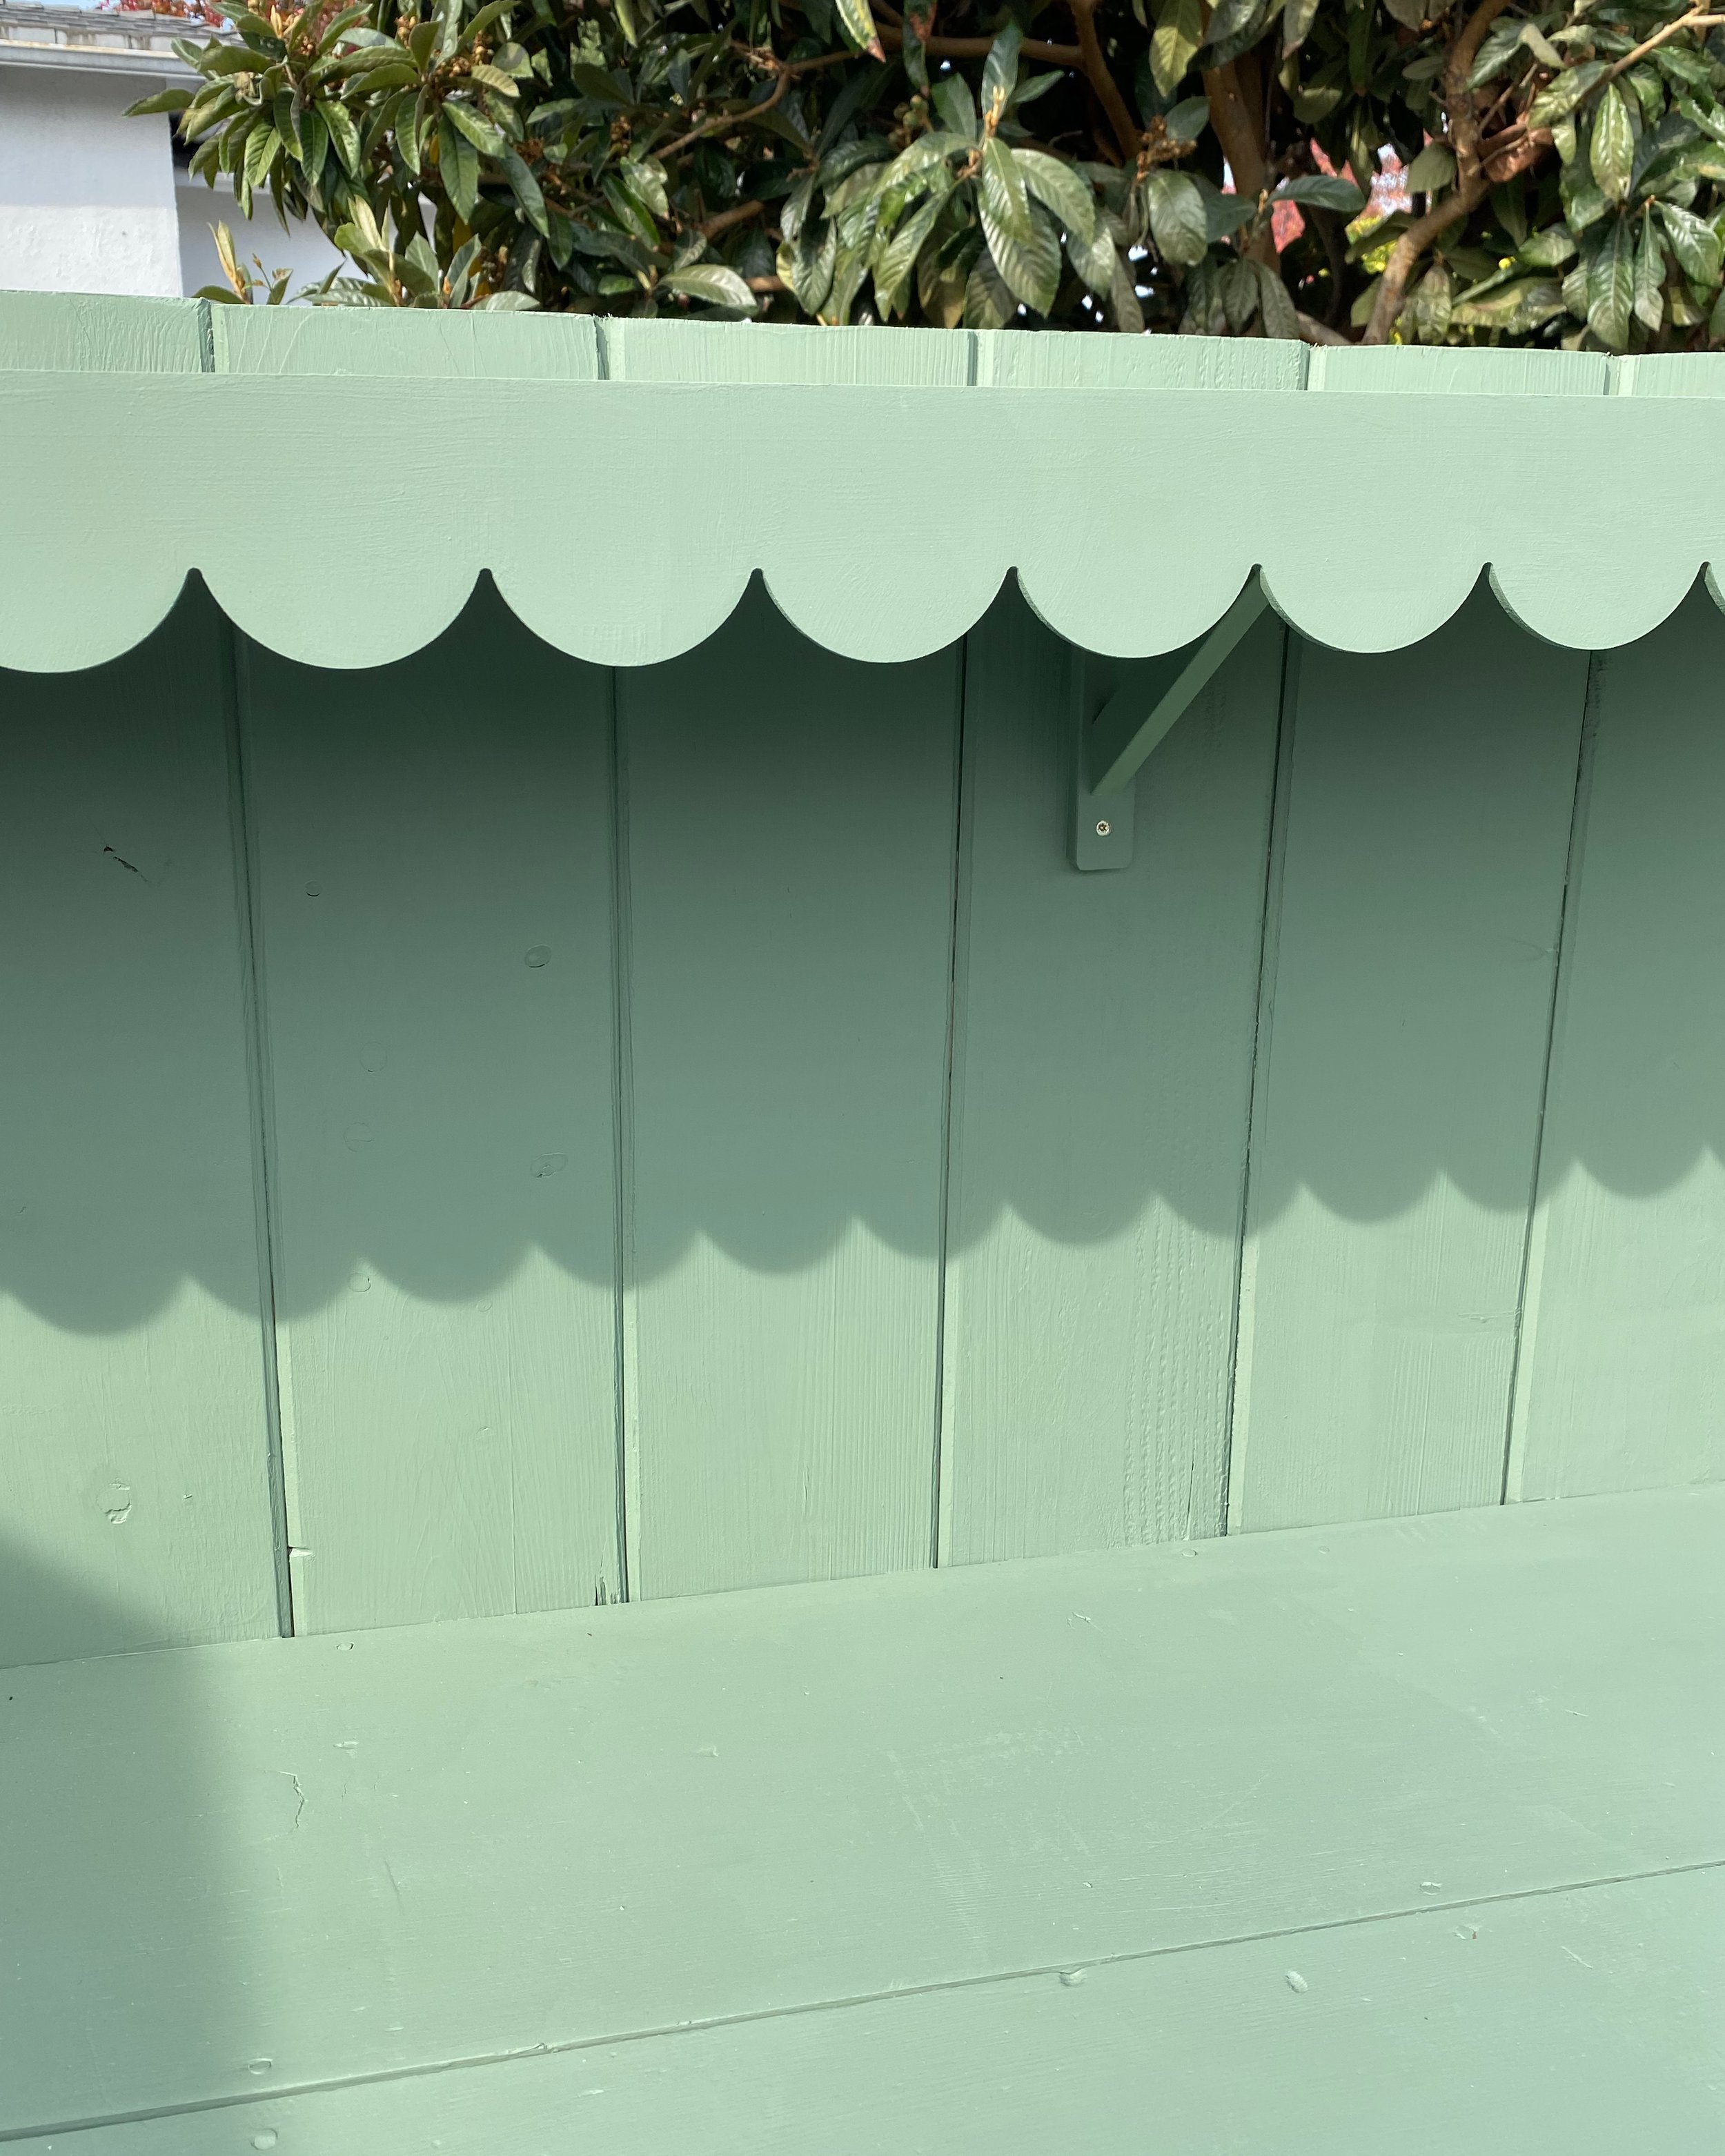
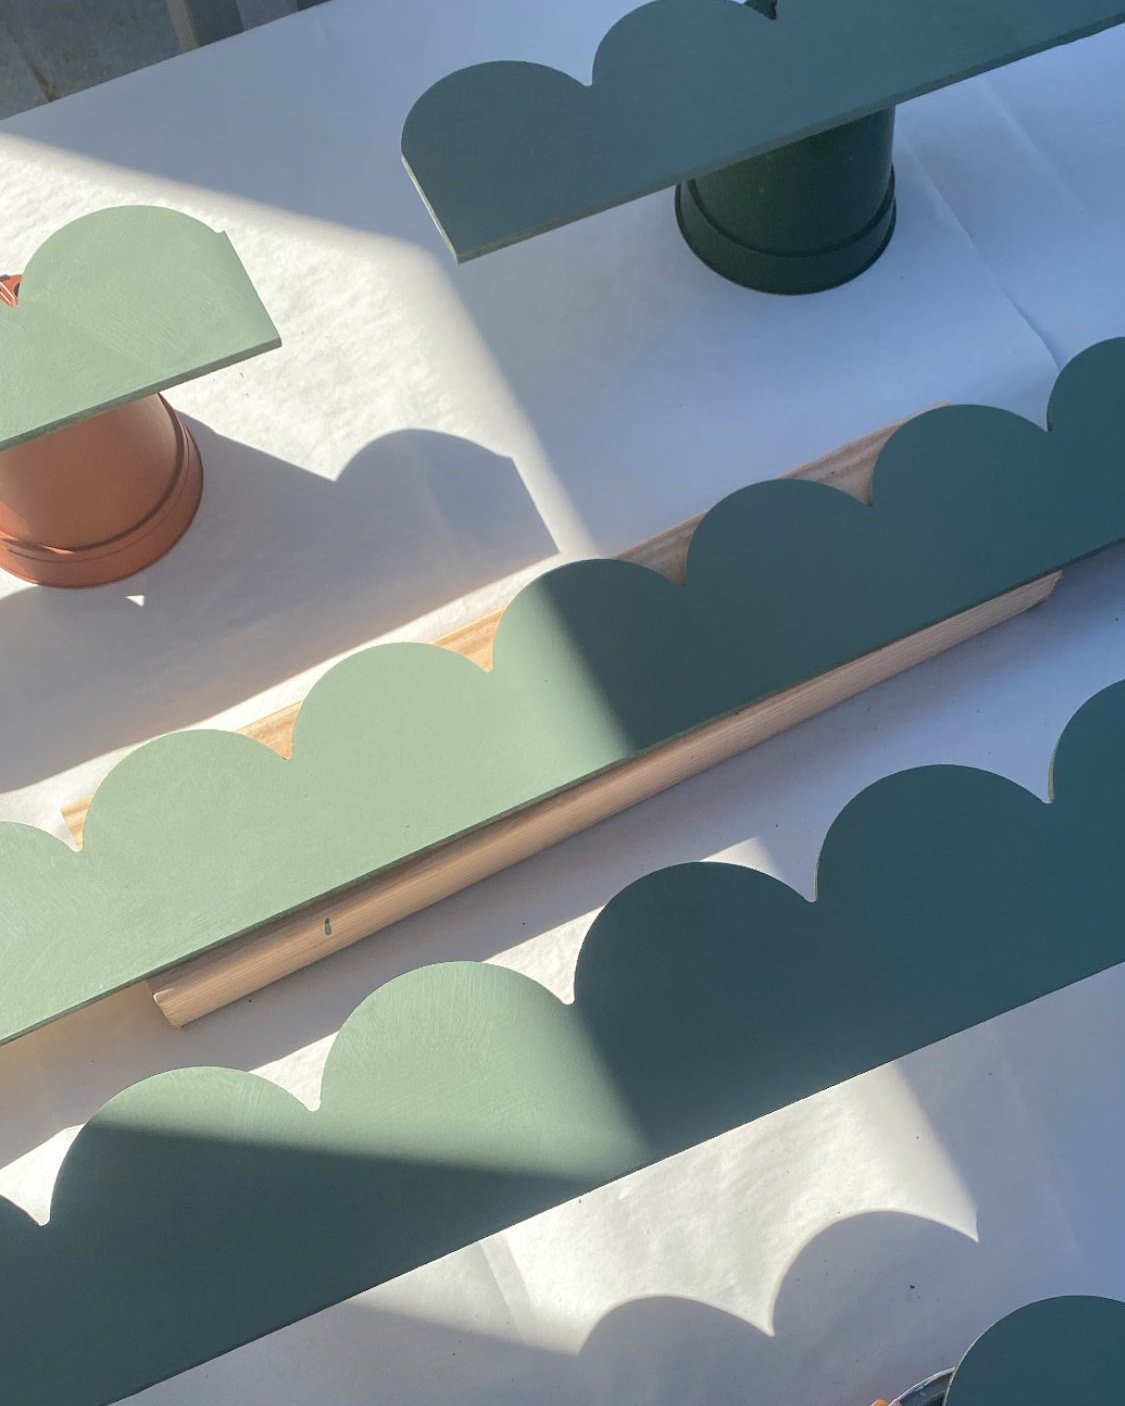
- scallop edging
- power circular saw
- power sander + sandpaper
- basic tools
- screws + small nails
- exterior primer + paint in one (i used benjamin moore avon green)
We found our table on the street in our neighborhood and were excited to give it a new life. We met the previous owner of the table and found out it was actually made by his father over 30 years ago! It had clearly been well used and loved over the years.
My inspiration for the potting bench was this Nickey Kehoe potting table. Our table was really deep so the first step was to take off the worst looking board, which we would later attach as the top shelf. We then were able to move the legs forward and make the table narrower.


Next we added on the lower shelf for extra storage. We were fortunate with the way the legs were made—they made it super easy to fit in the new shelf. The shelf is made of tongue and groove boards, which we cut down to size. Bear was a super helpful assistant and kept us on track throughout the project—ha!
We also cut and added more tongue and groove boards for the back panel, where the shelf would be attached and supported. We got three wooden shelf brackets and attached those where we wanted the upper shelf to go. Then we attached the upper shelf using screws.


before and after sanding:


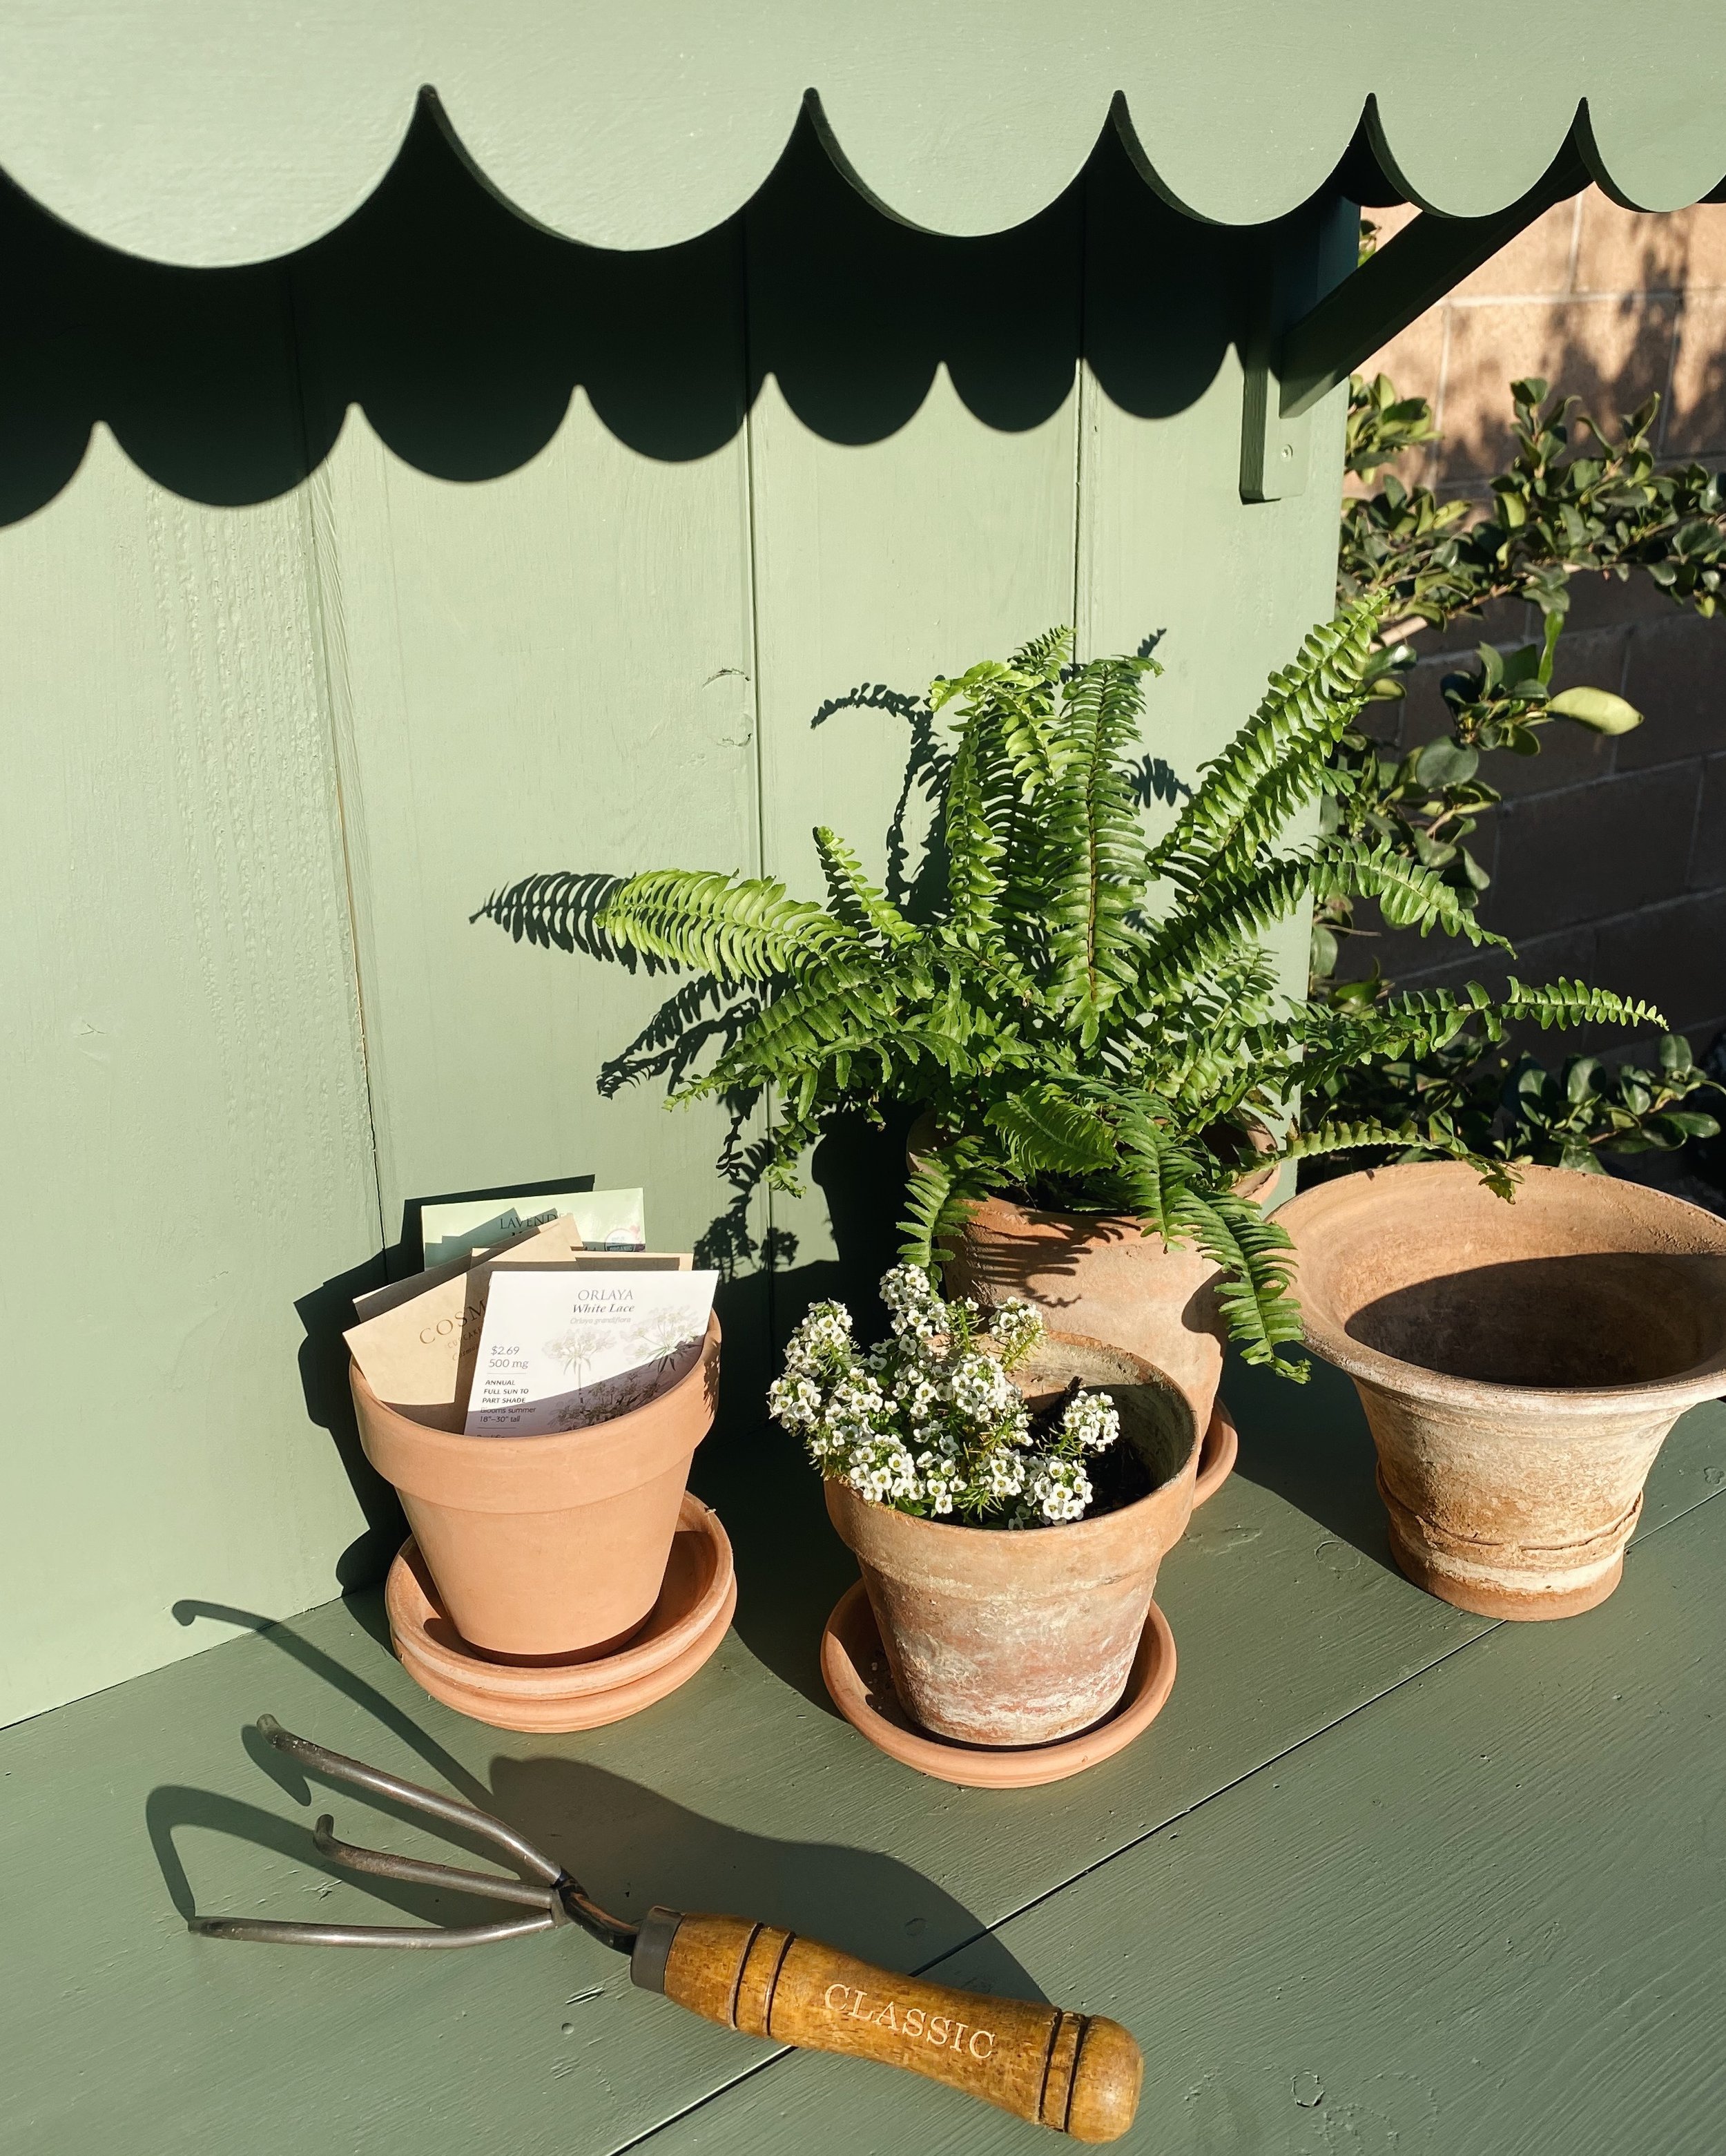
The table needed a good cleaning and sanding before it would be ready to paint and I was shocked at what a difference sanding made! It almost made me want to leave it bare wood. After sanding, the table was ready to be painted. My dad and I signed and dated the underside of the table as a fun memory of our project together.
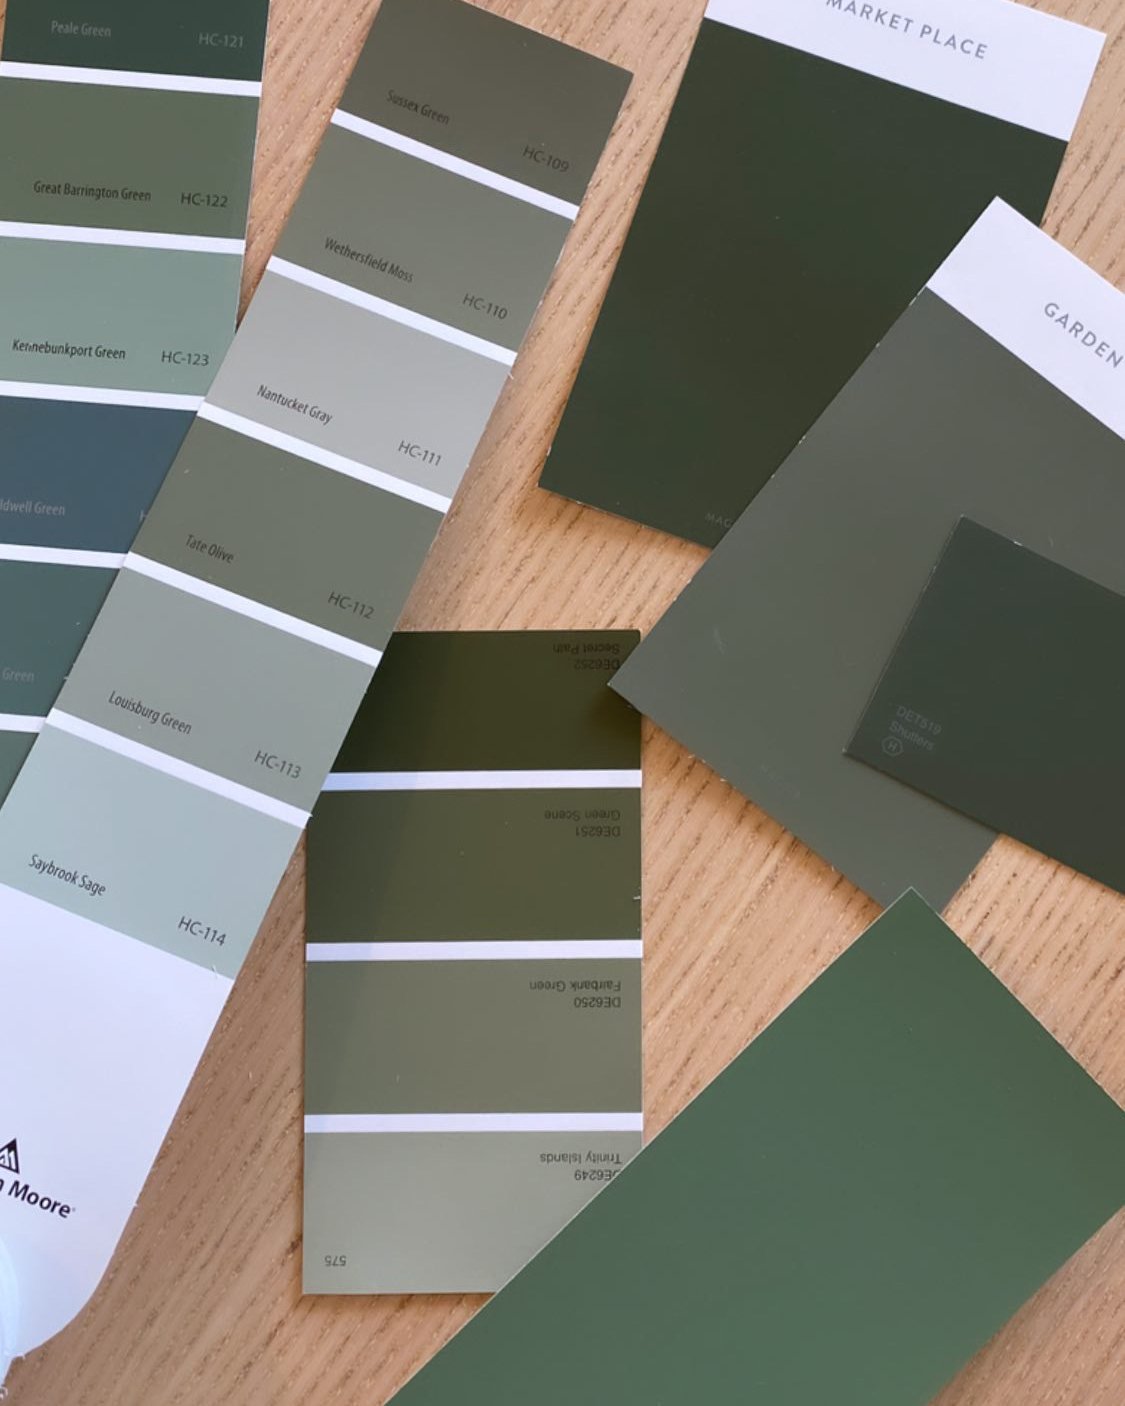
I got so many swatches of green paint and finally landed on Benjamin Moore Avon Green. The swatches looked entirely different inside vs. outside and in the sun vs. clouds—definitely recommend looking at it in all different lights before deciding on your final color!

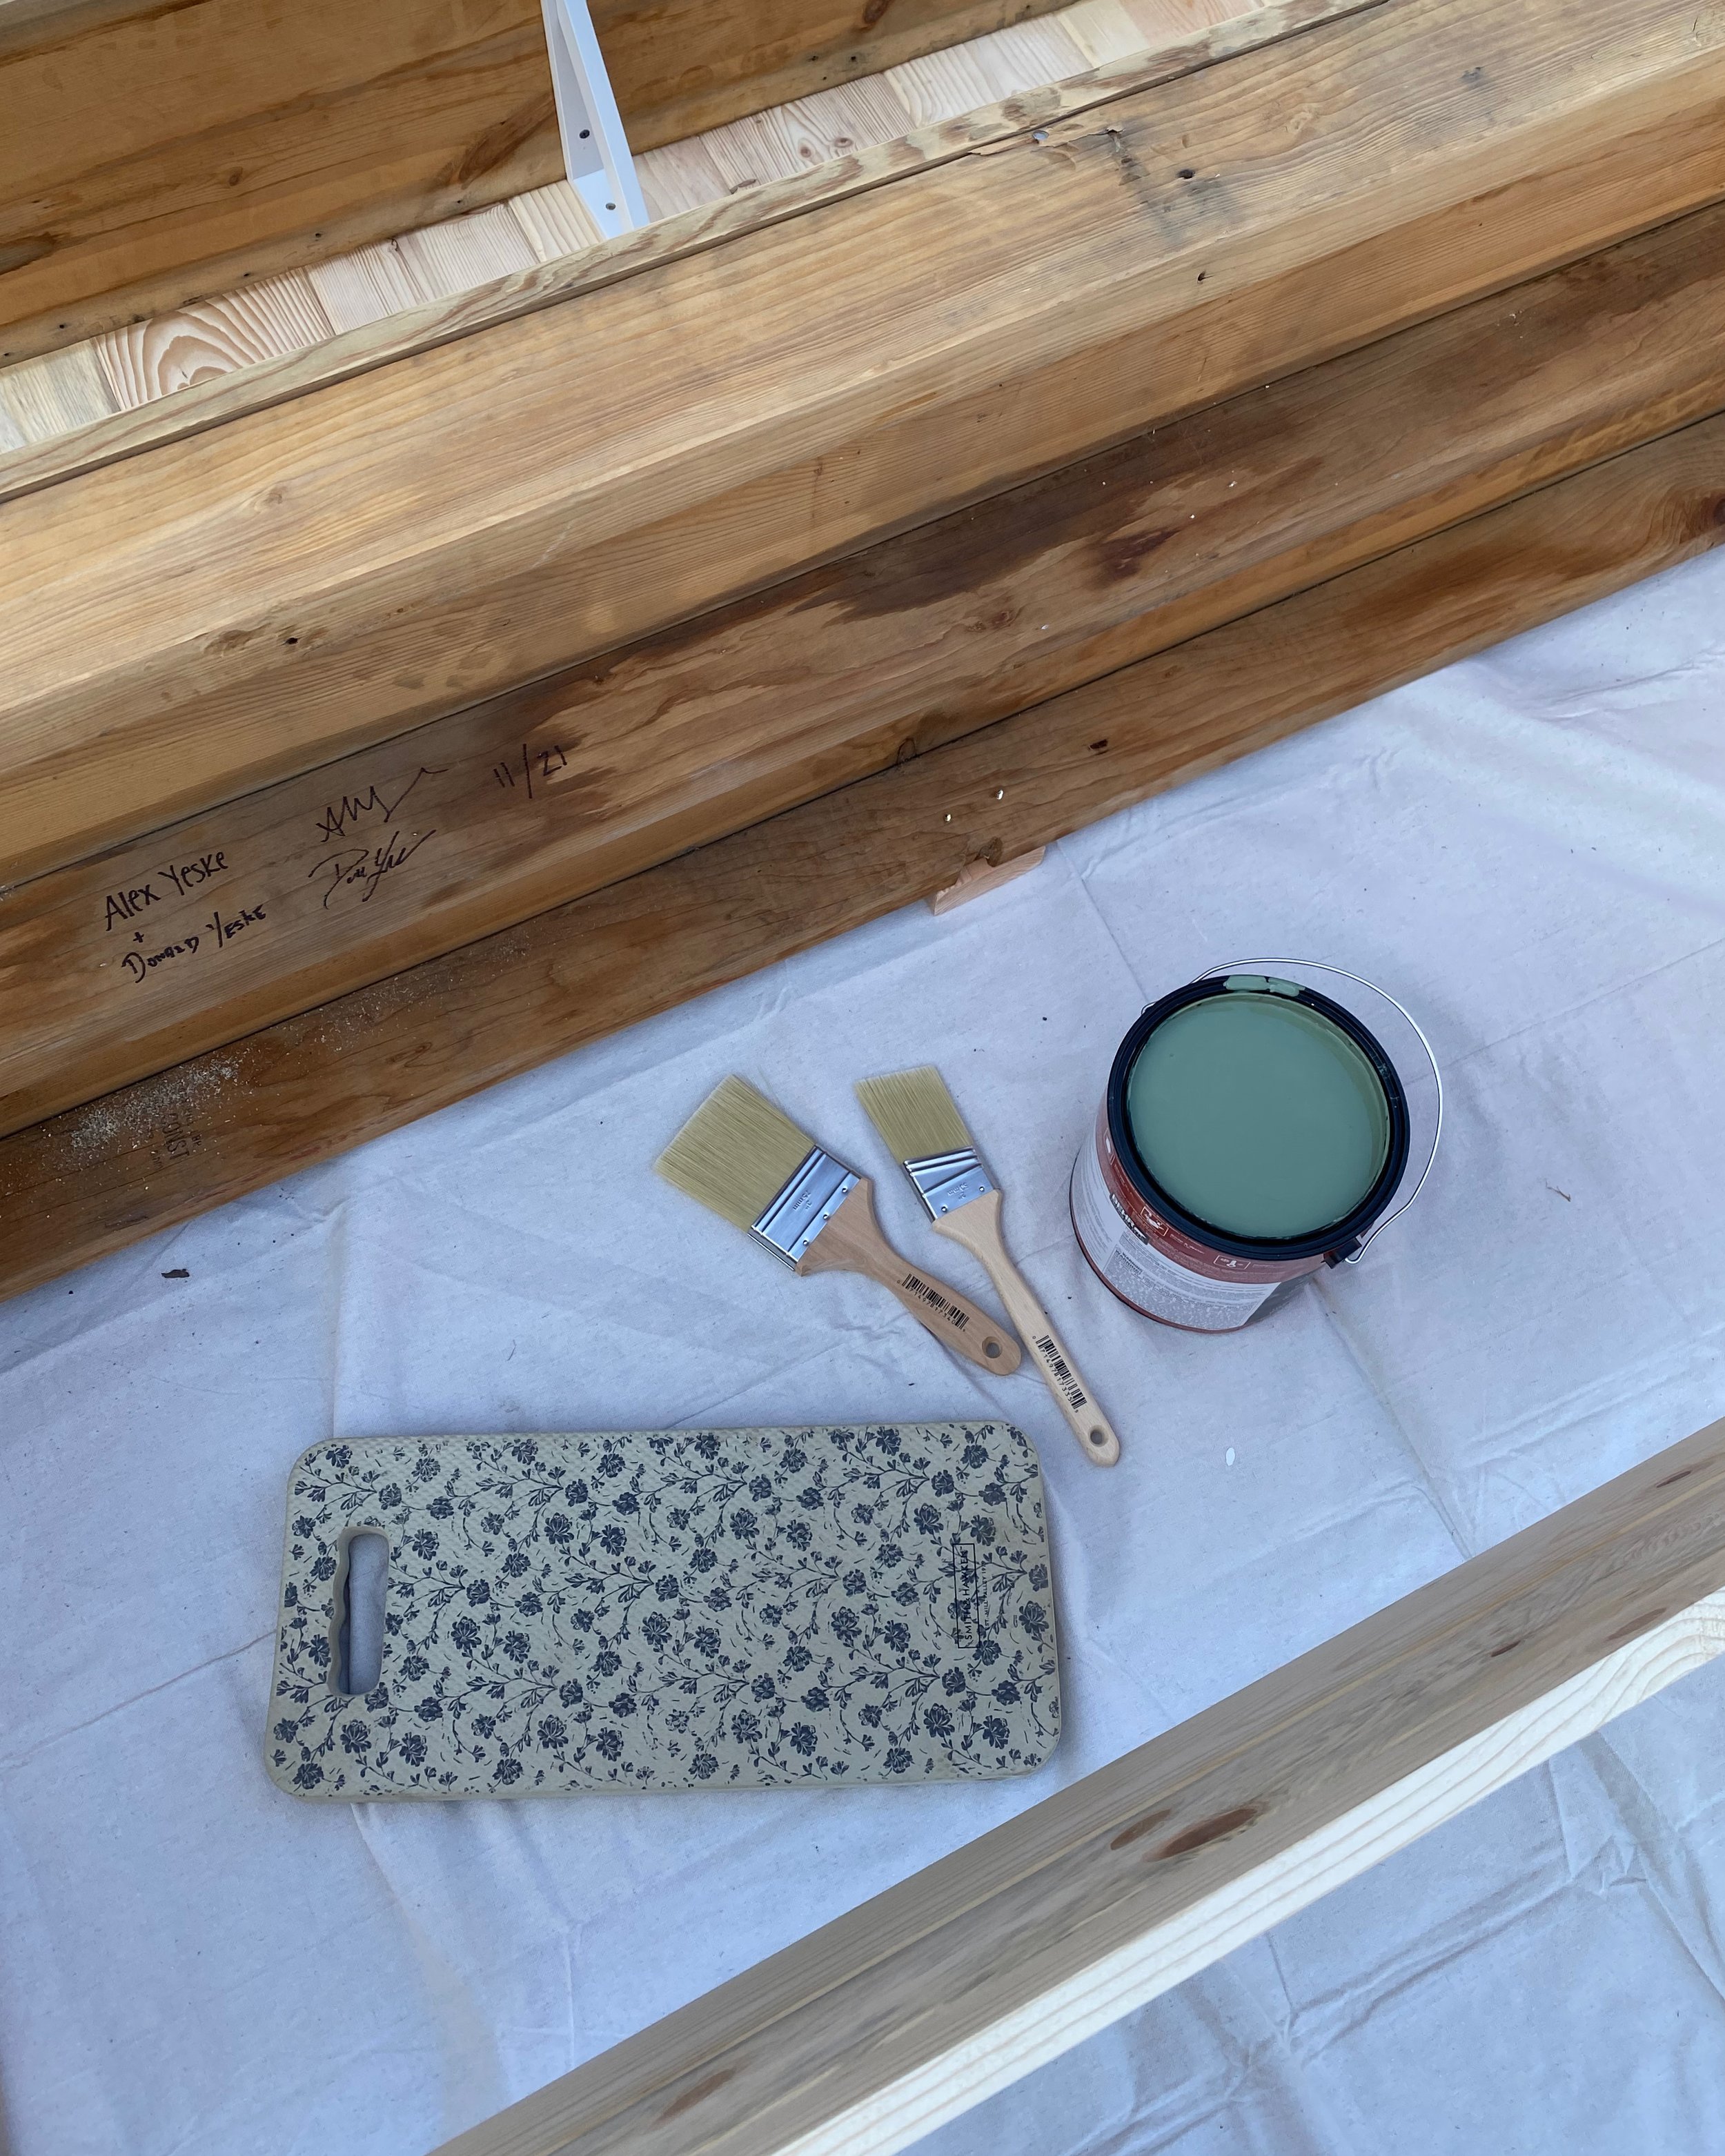
I ended up doing two coats of paint on the table and the scallop trim (plus some touchups as it has settled / expanded). I found the scallop trim on Etsy after seeing it on a few other DIY projects and it worked out perfectly. The table is longer than the pieces so we had to use a couple and trim them to size. After all the paint was dry, we attached the scallop trim using small nails, and the potting bench was finished!
Due to my perfectionist tendencies, I might go back and fill in the crack between the scallop trim pieces with some wood filler so it’s less noticeable, and also coat the entire piece with a sealant to protect it from water, etc.


AFTER:


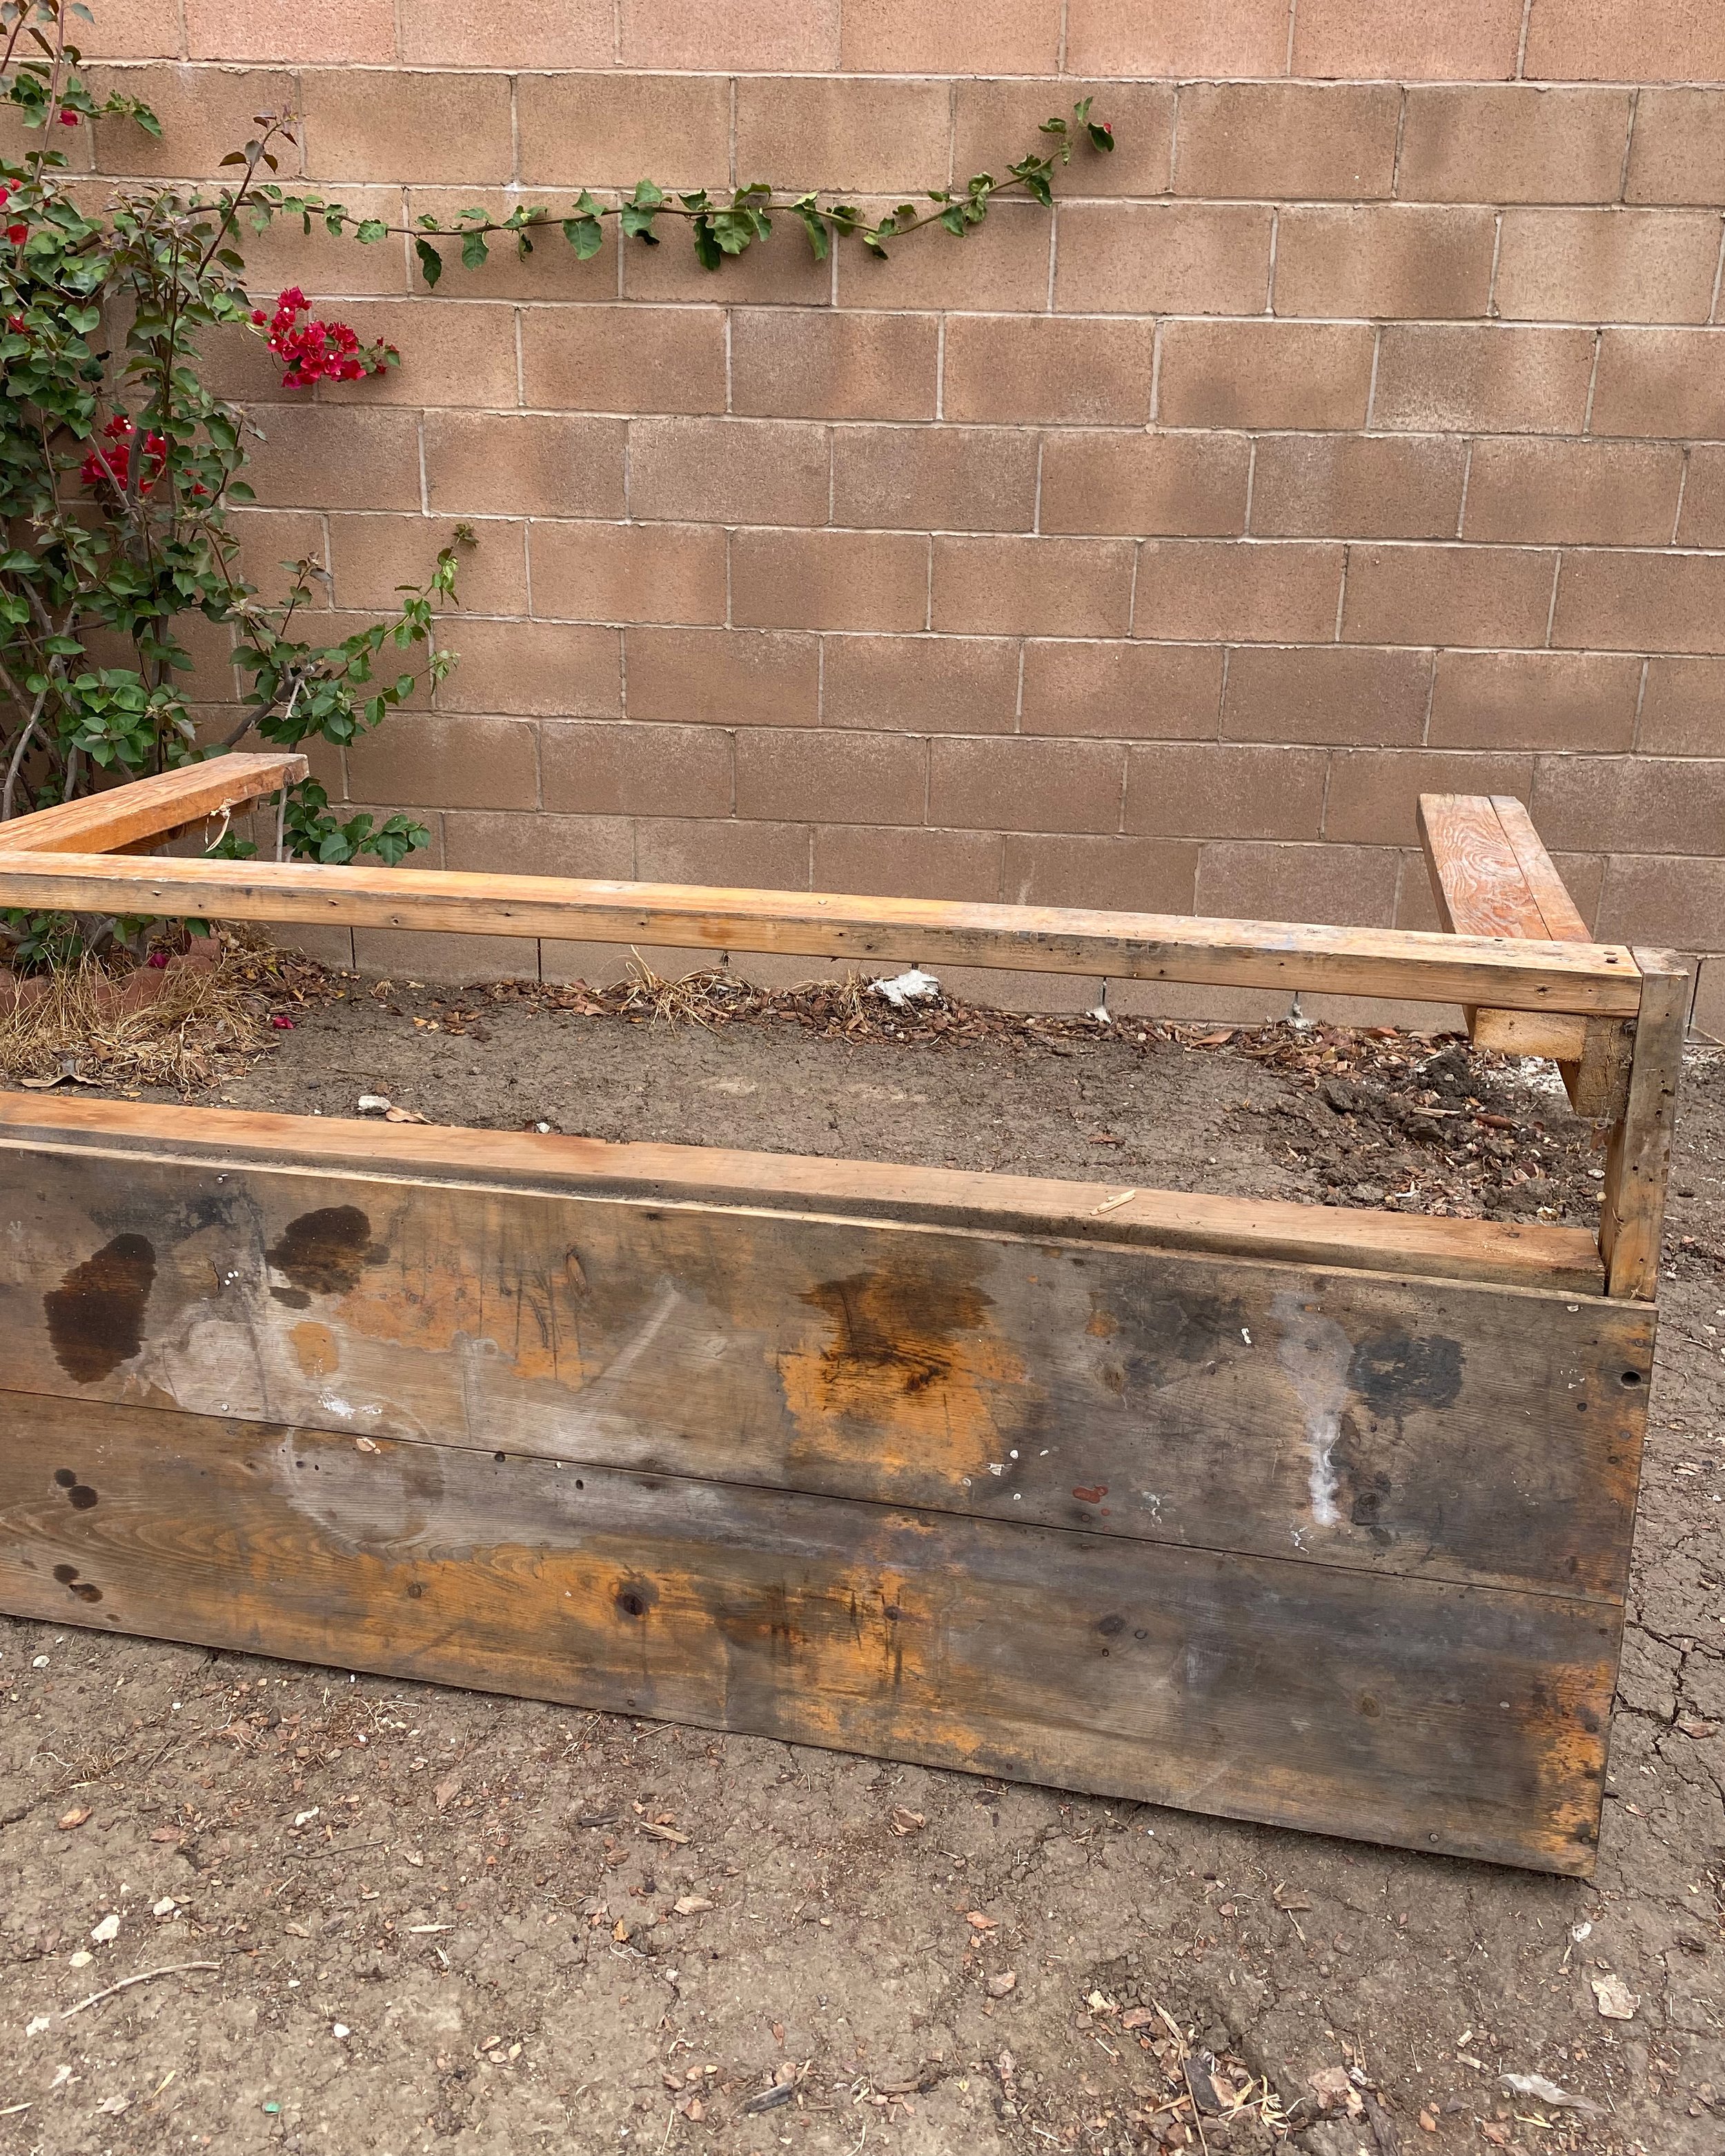
BACKYARD BEFORE:

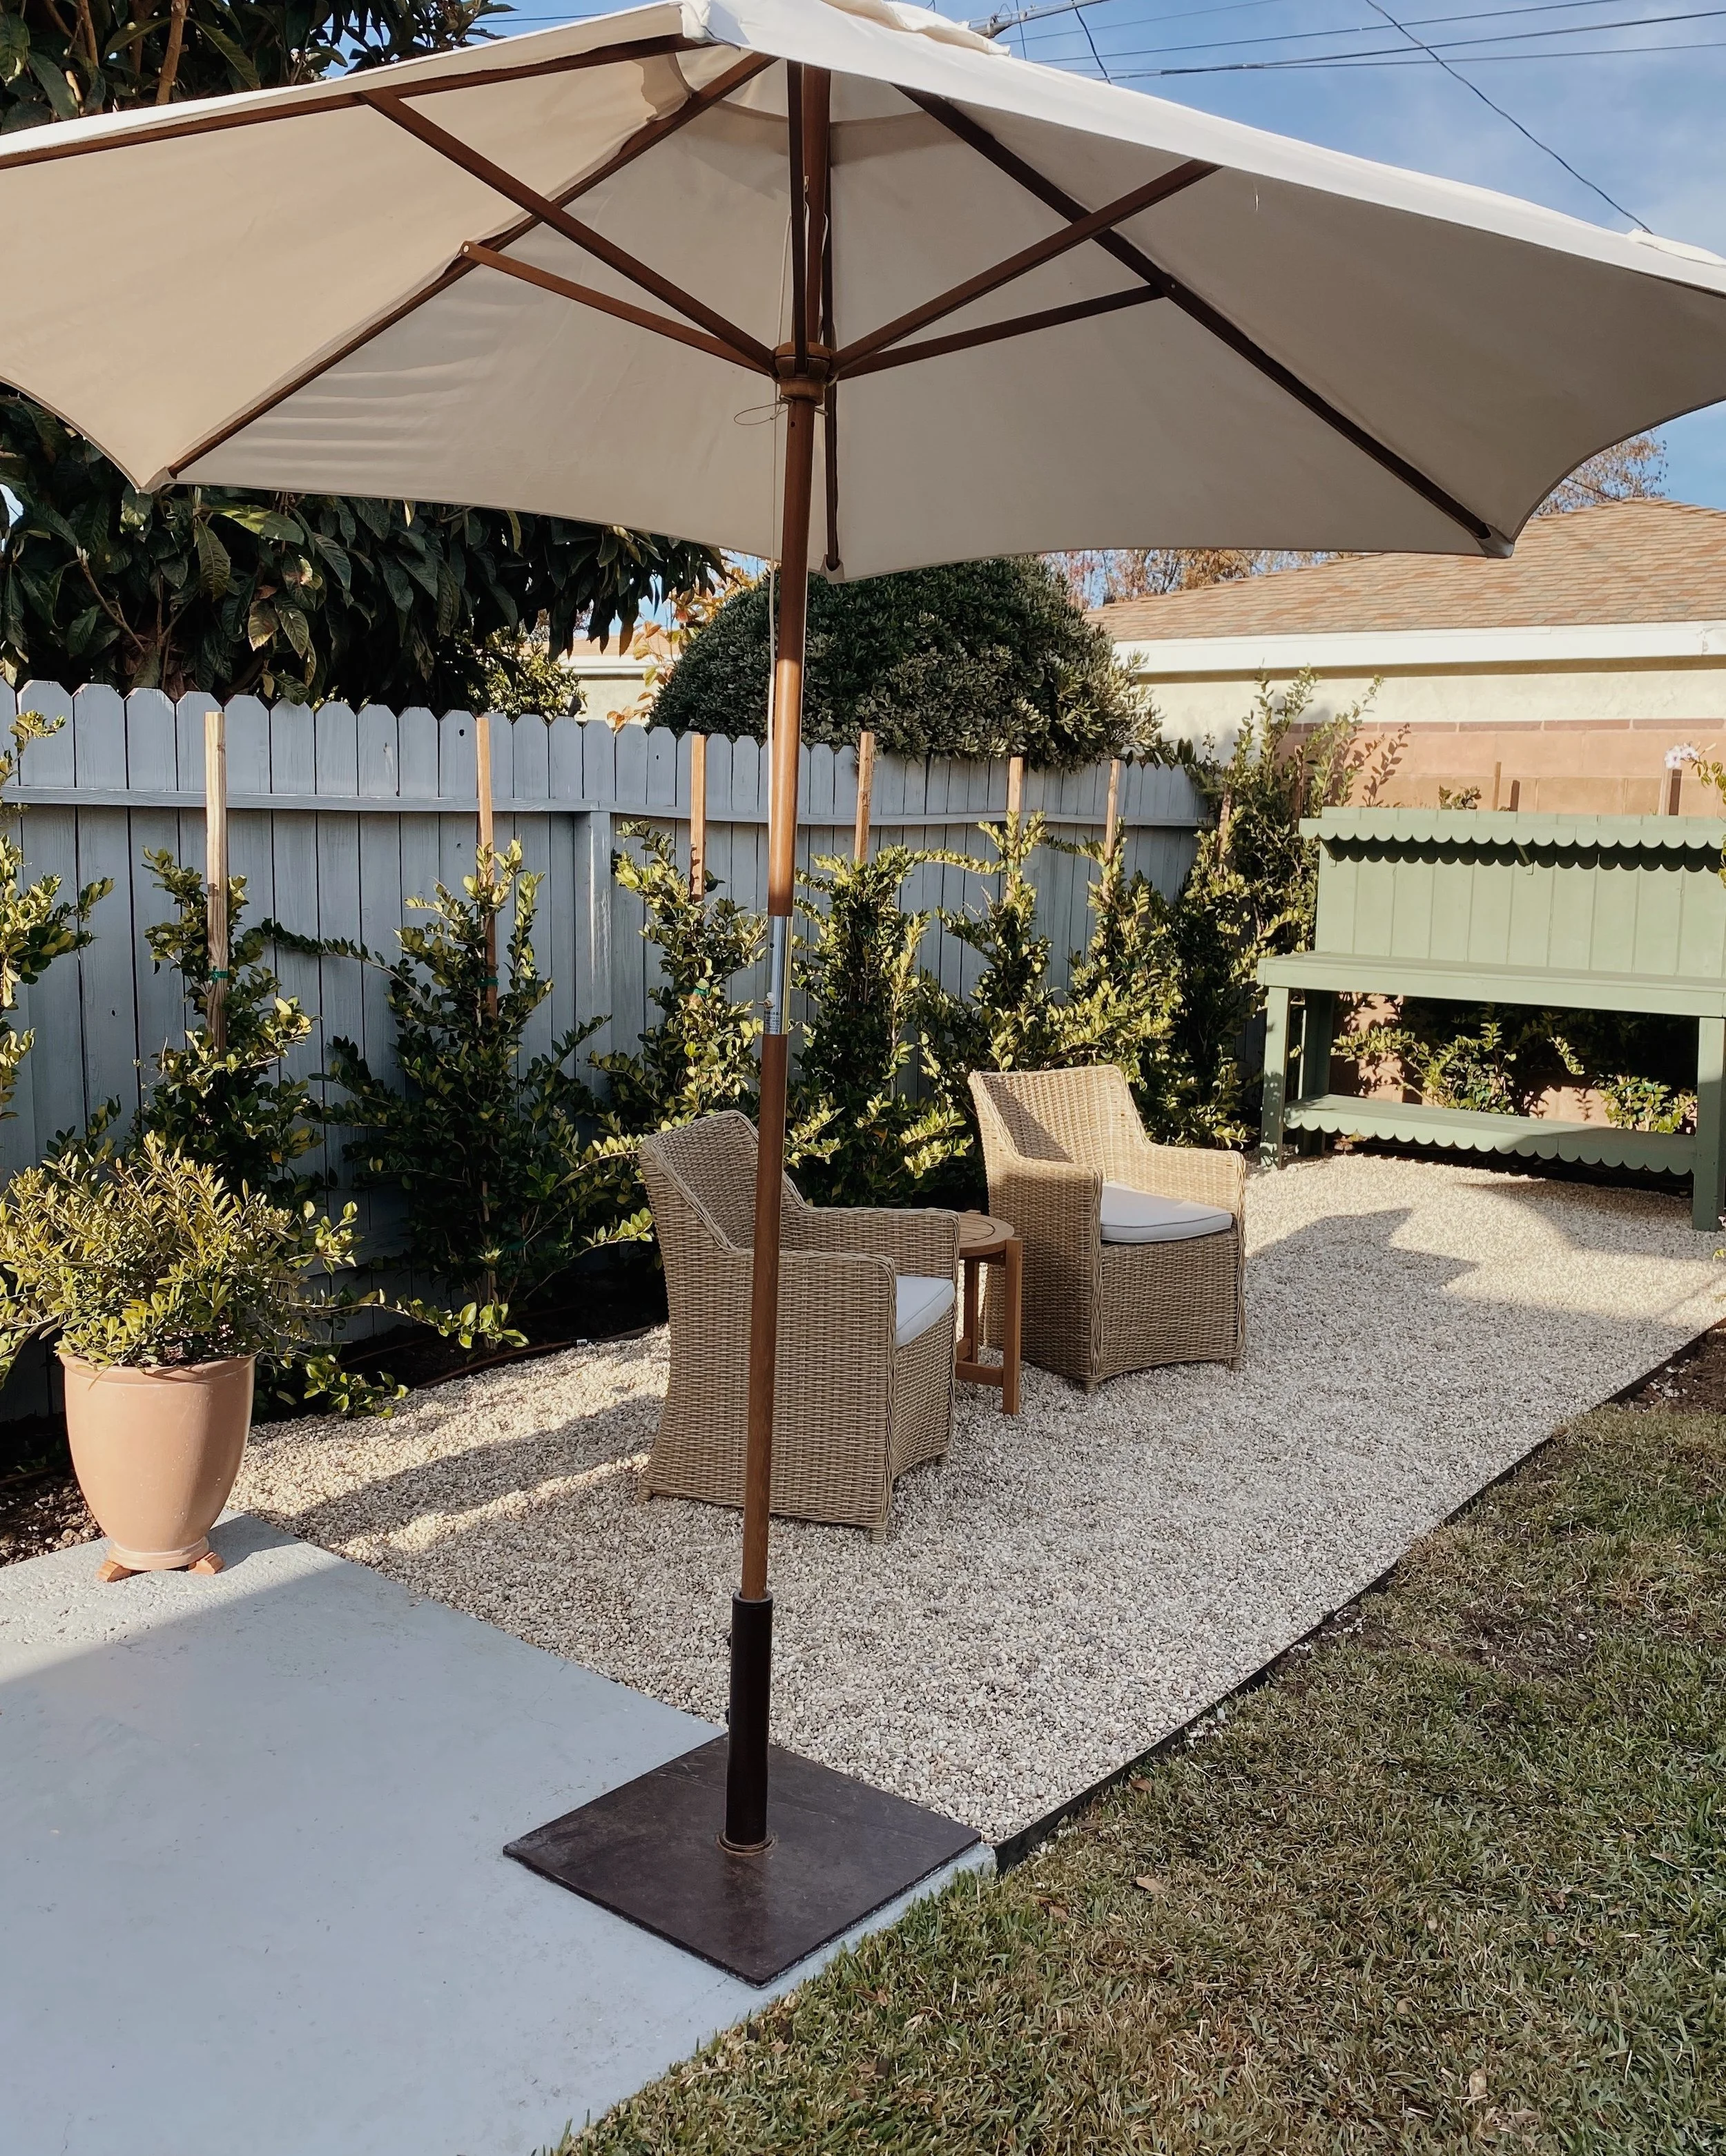
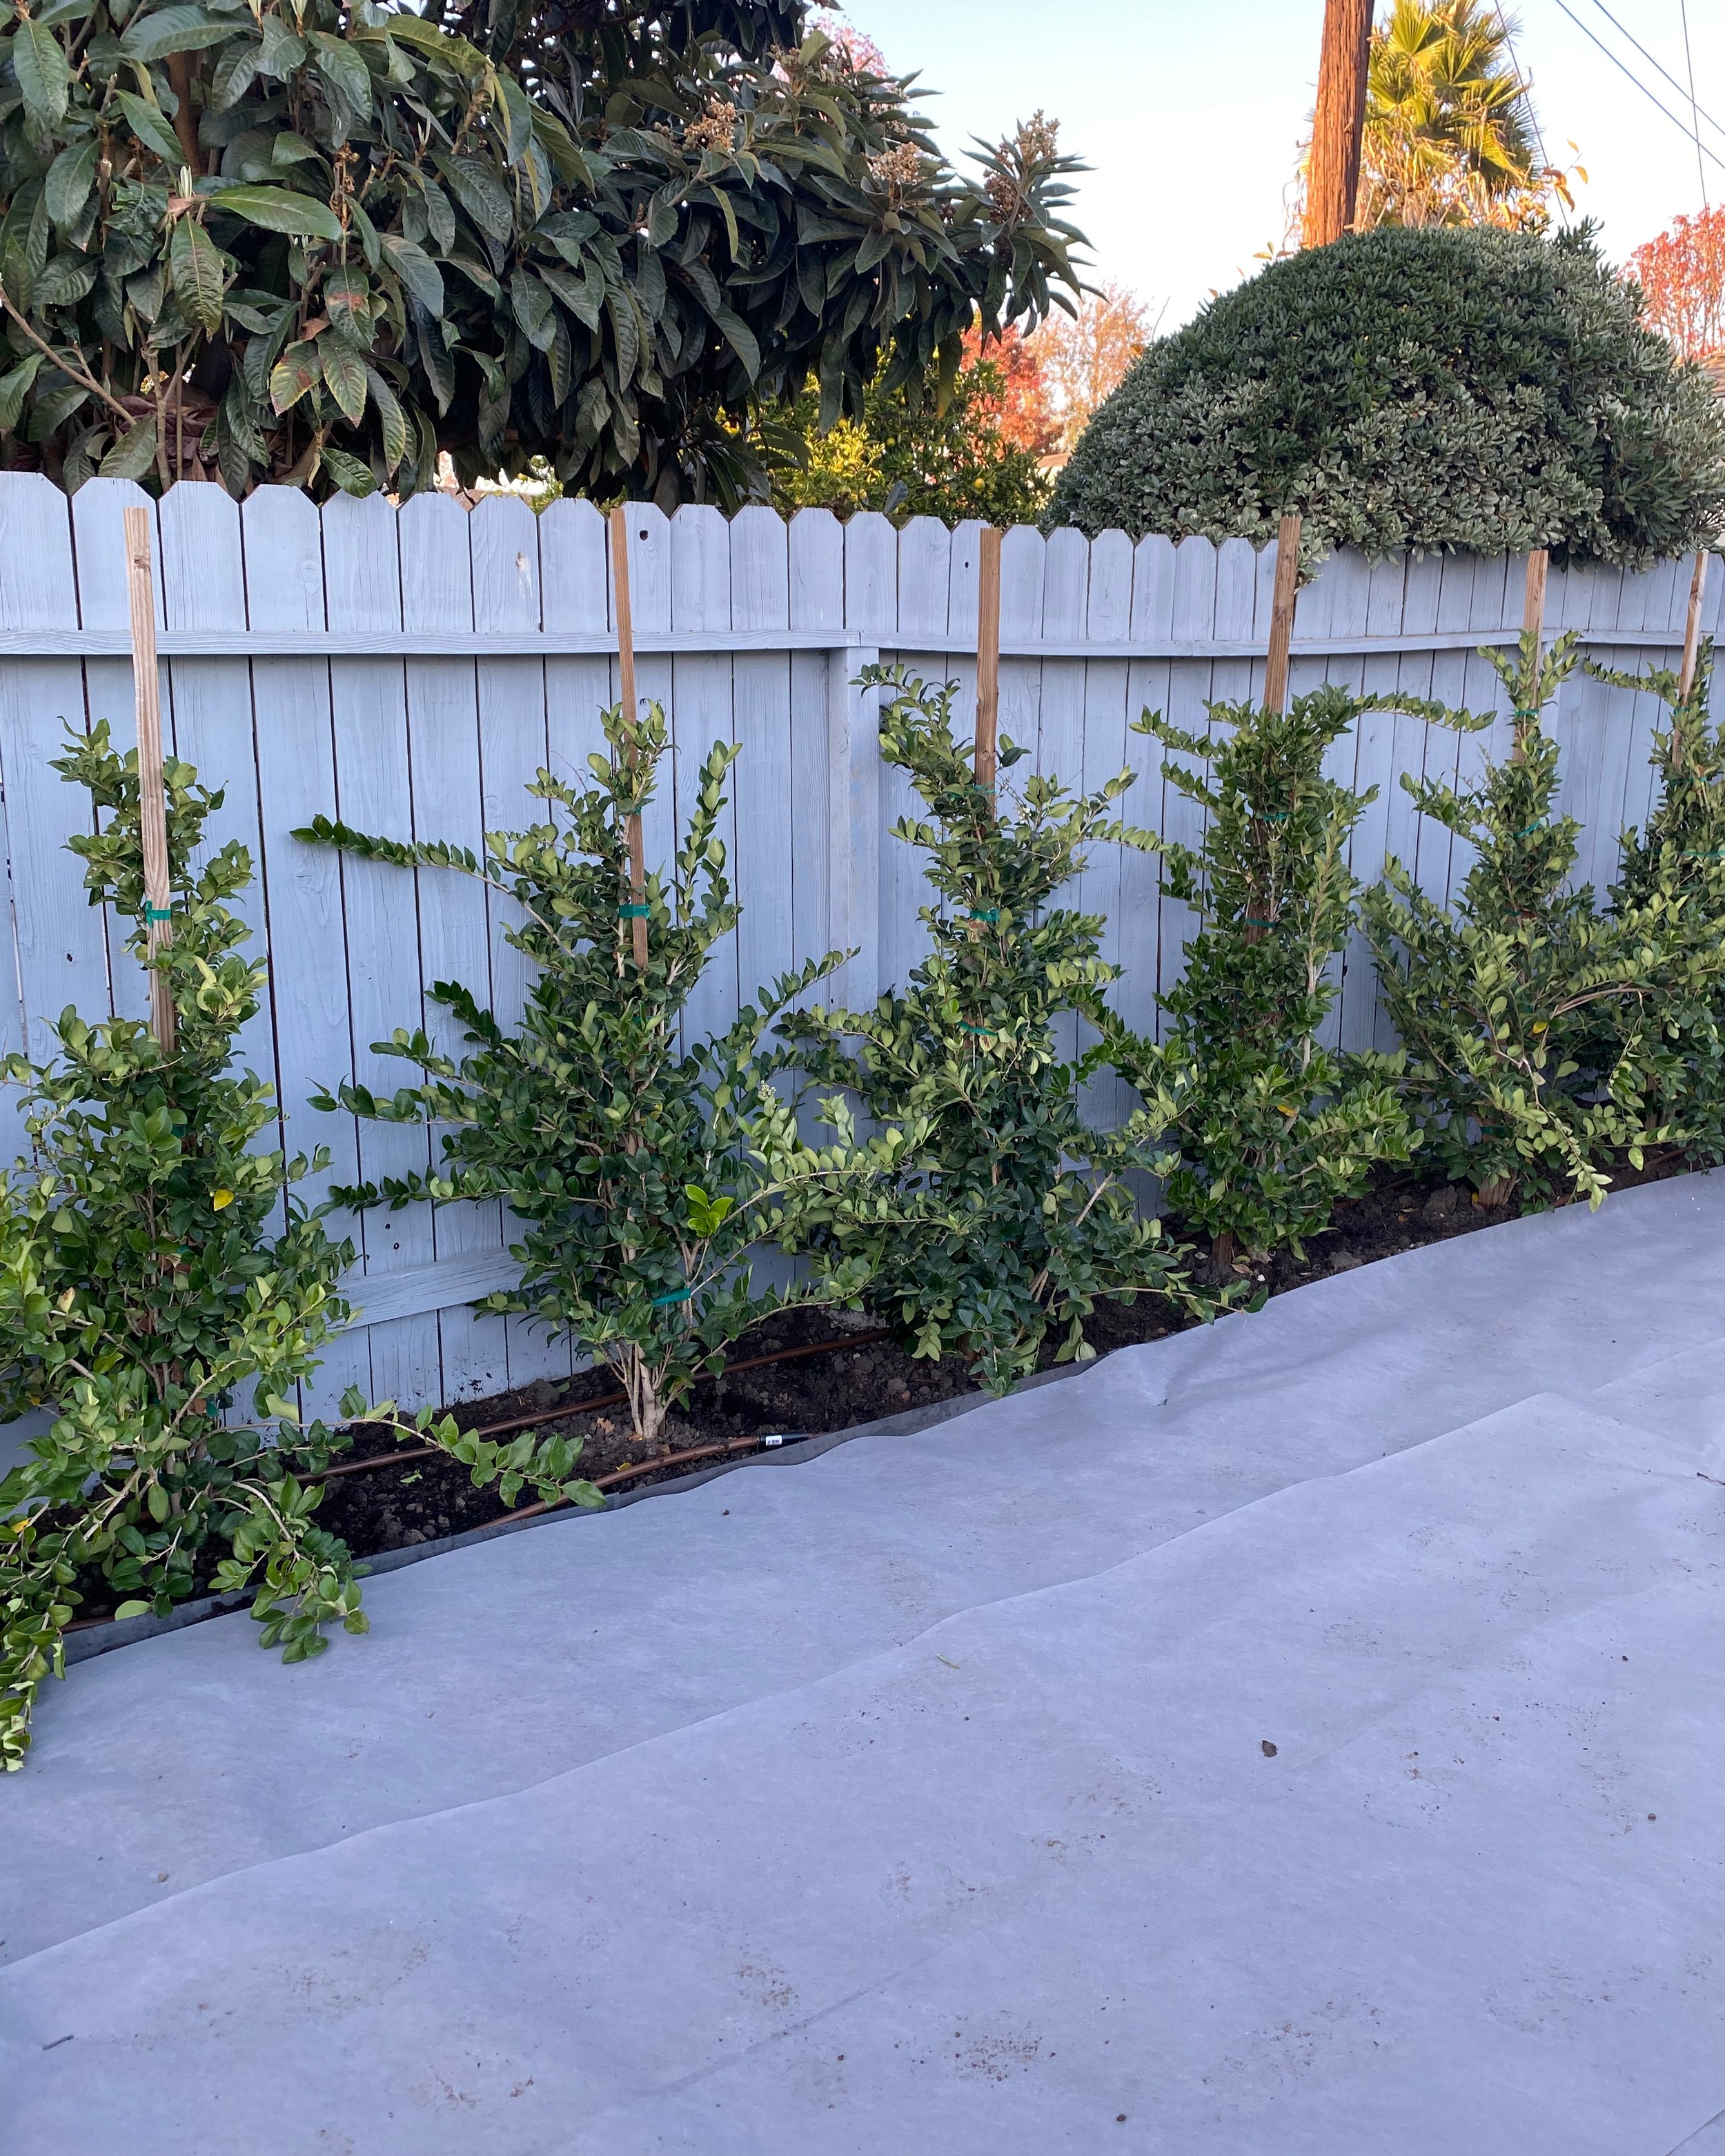
As I mentioned earlier, this corner of our yard was basically a giant pile of woodchips and wasn’t being used at all. It’s a fairly large area so we wanted to make it into a usable space and decided to create a lounge area and a space for gardening. We also wanted to create some privacy from our neighbors by planting hedges that will eventually grow much taller and fill in to block the fence. I did a lot of research on hedges and ultimately decided on Wax Leaf Privets. I like the glossy leaves on them and that they flower in the spring with little white flowers. The other hedge that’s super popular here in LA is Ficus, but their roots can be really invasive so we decided against them. Along with the plants, we also had to add in some drip irrigation to make sure they are getting properly watered.
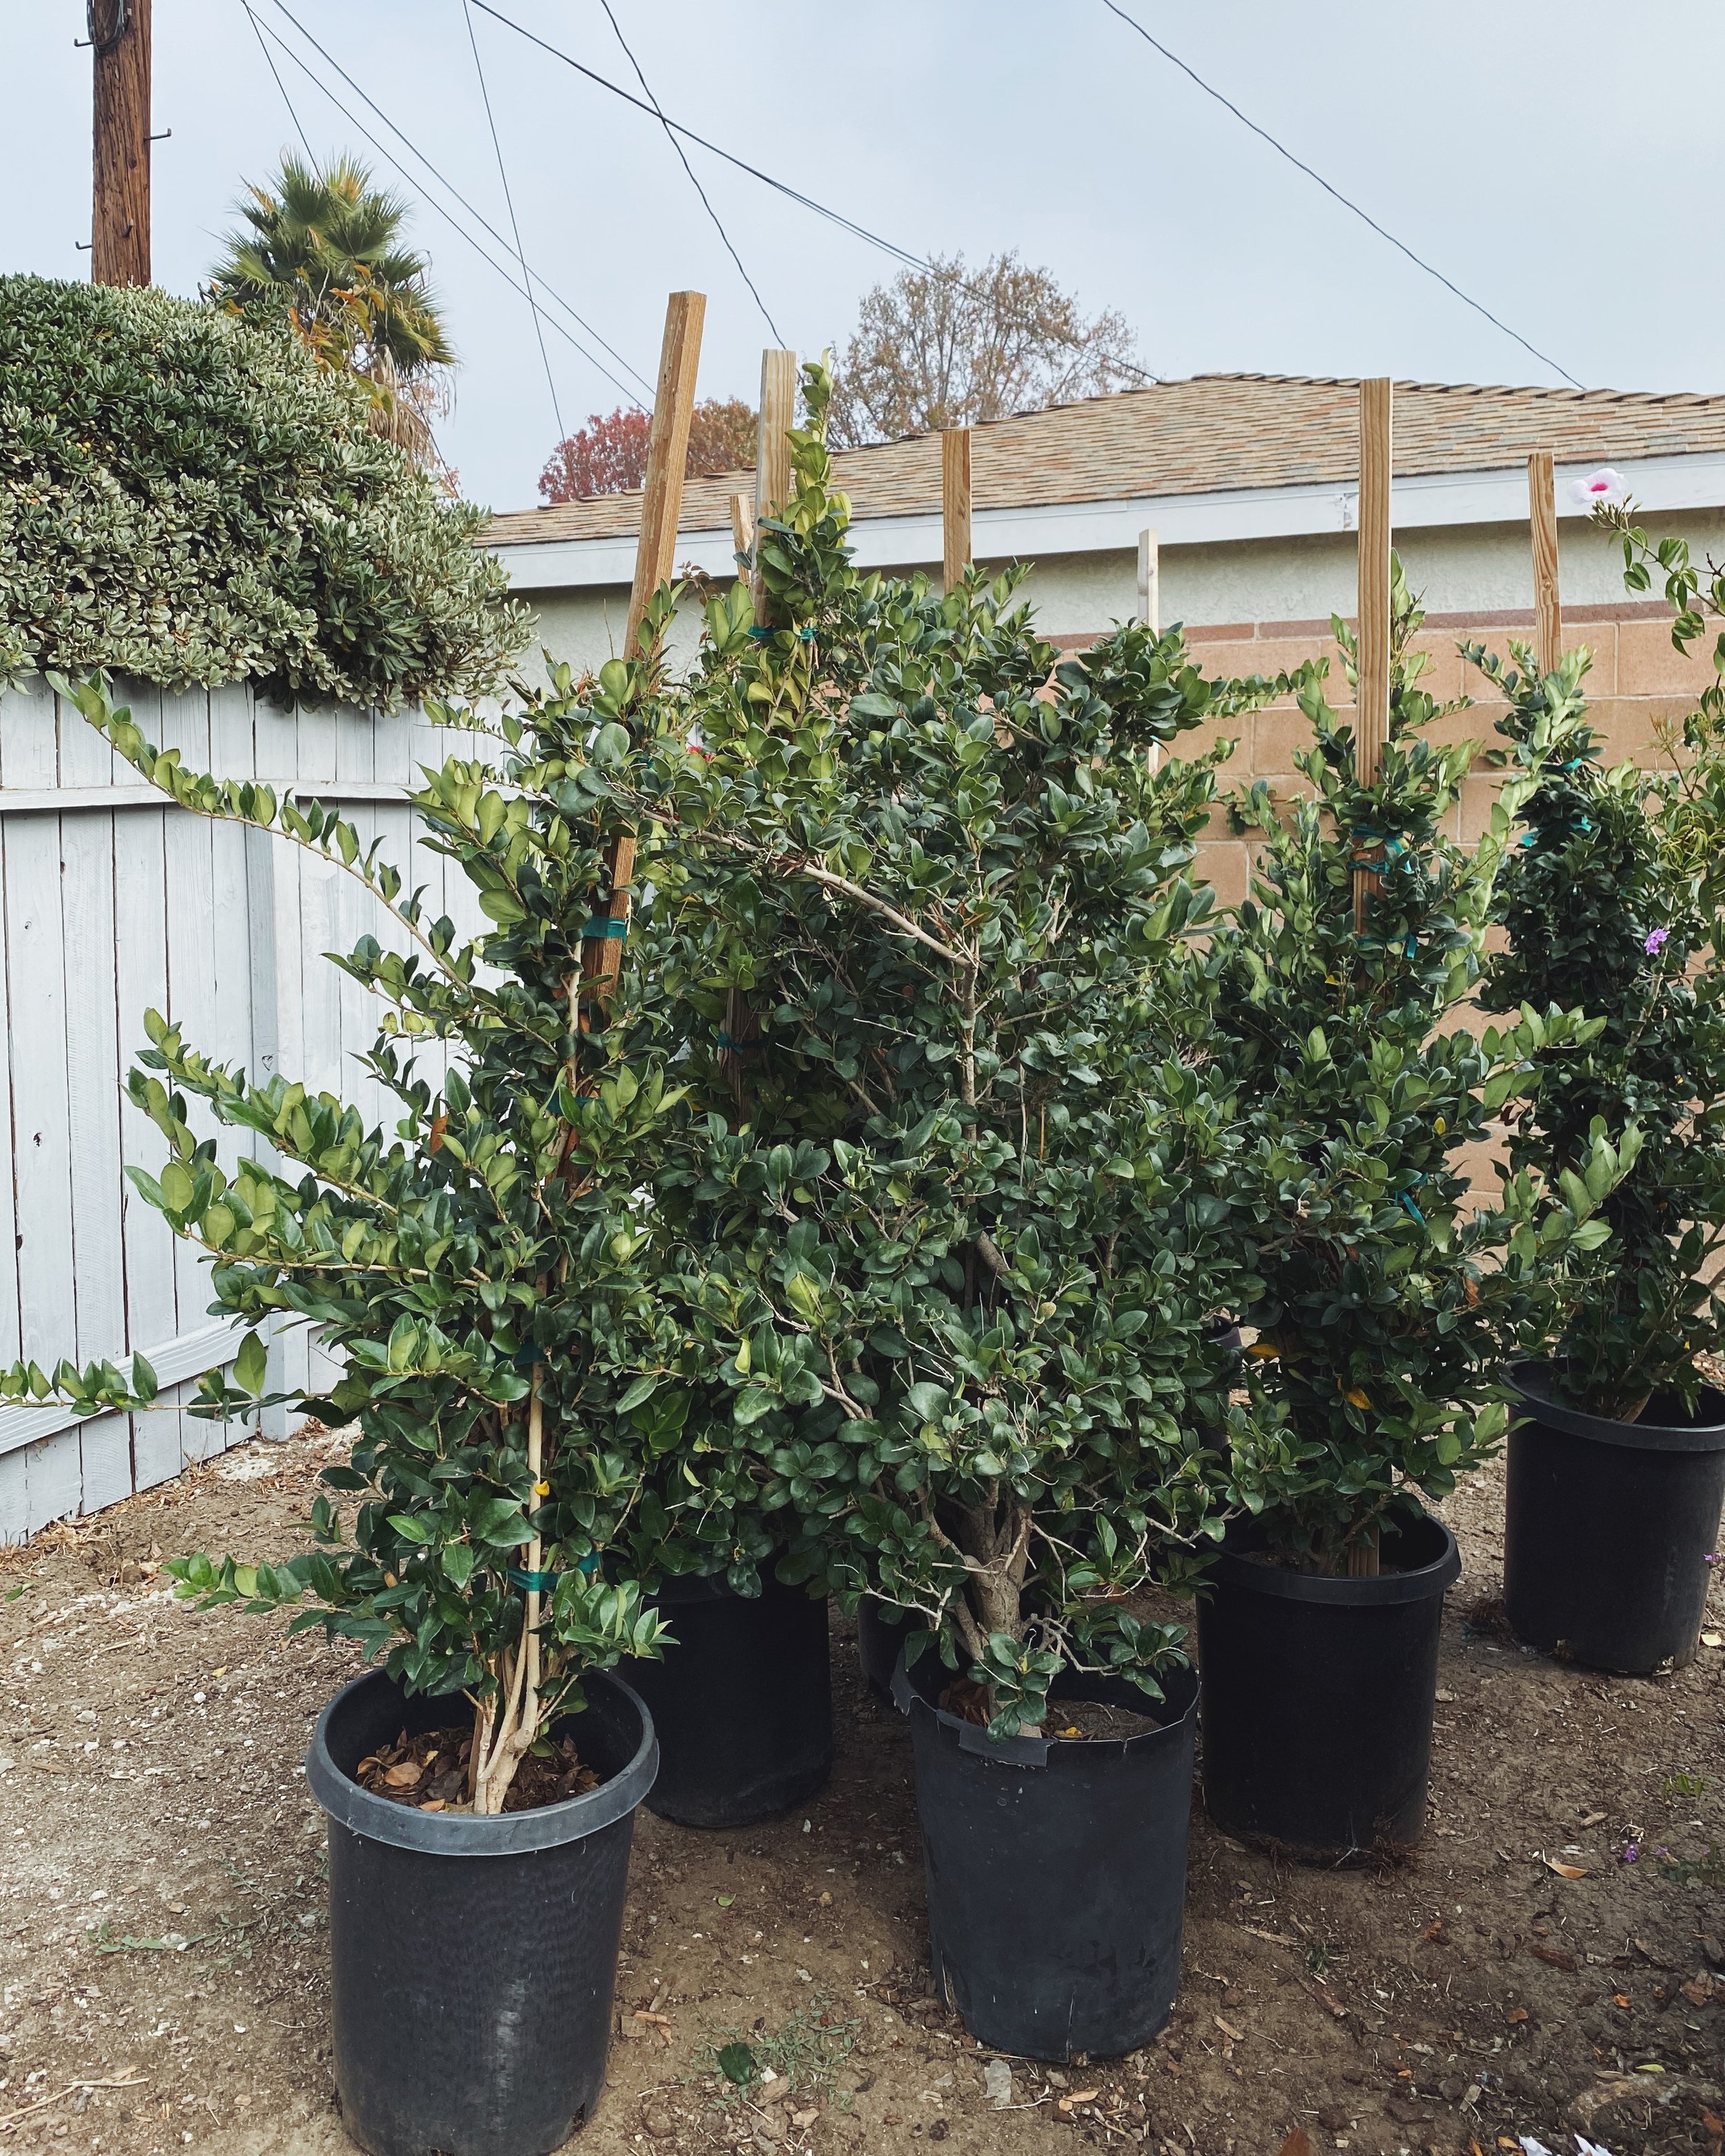


We hired our gardener to do most of the work on this part of our yard. He dug out the area for the irrigation and a big trench for the plants to go. After the plants were in the ground and the drip irrigation was installed, it was time to put the metal edging in that would frame the pea gravel area. We got the metal edging from Edge Right—they sell their pieces in few different lengths and we mapped out our design based on that. Luckily it all went according to plan and we didn’t have to make any adjustments or cuts!
Once the edging was in place, the weed barrier went down and we poured the pea gravel. I’m super inspired by European gardens and outdoor spaces so I wanted to fill in the area with pea gravel to create that look. I think I went to 5 or 6 different stone supply stores in the LA area and had tonssss of pea gravel samples. It was important to me that the stones be relatively smooth in case people walked on it barefoot and I was also really particular about the color (shocking, I know). I wanted it to be a mix of gray and tan stones so it wasn’t too warm or too cool in color. We ended up selecting Del Rio 3/8” pebbles and sourced them from a local place called Patagonia Building Supplies.

BACKYARD AFTER:
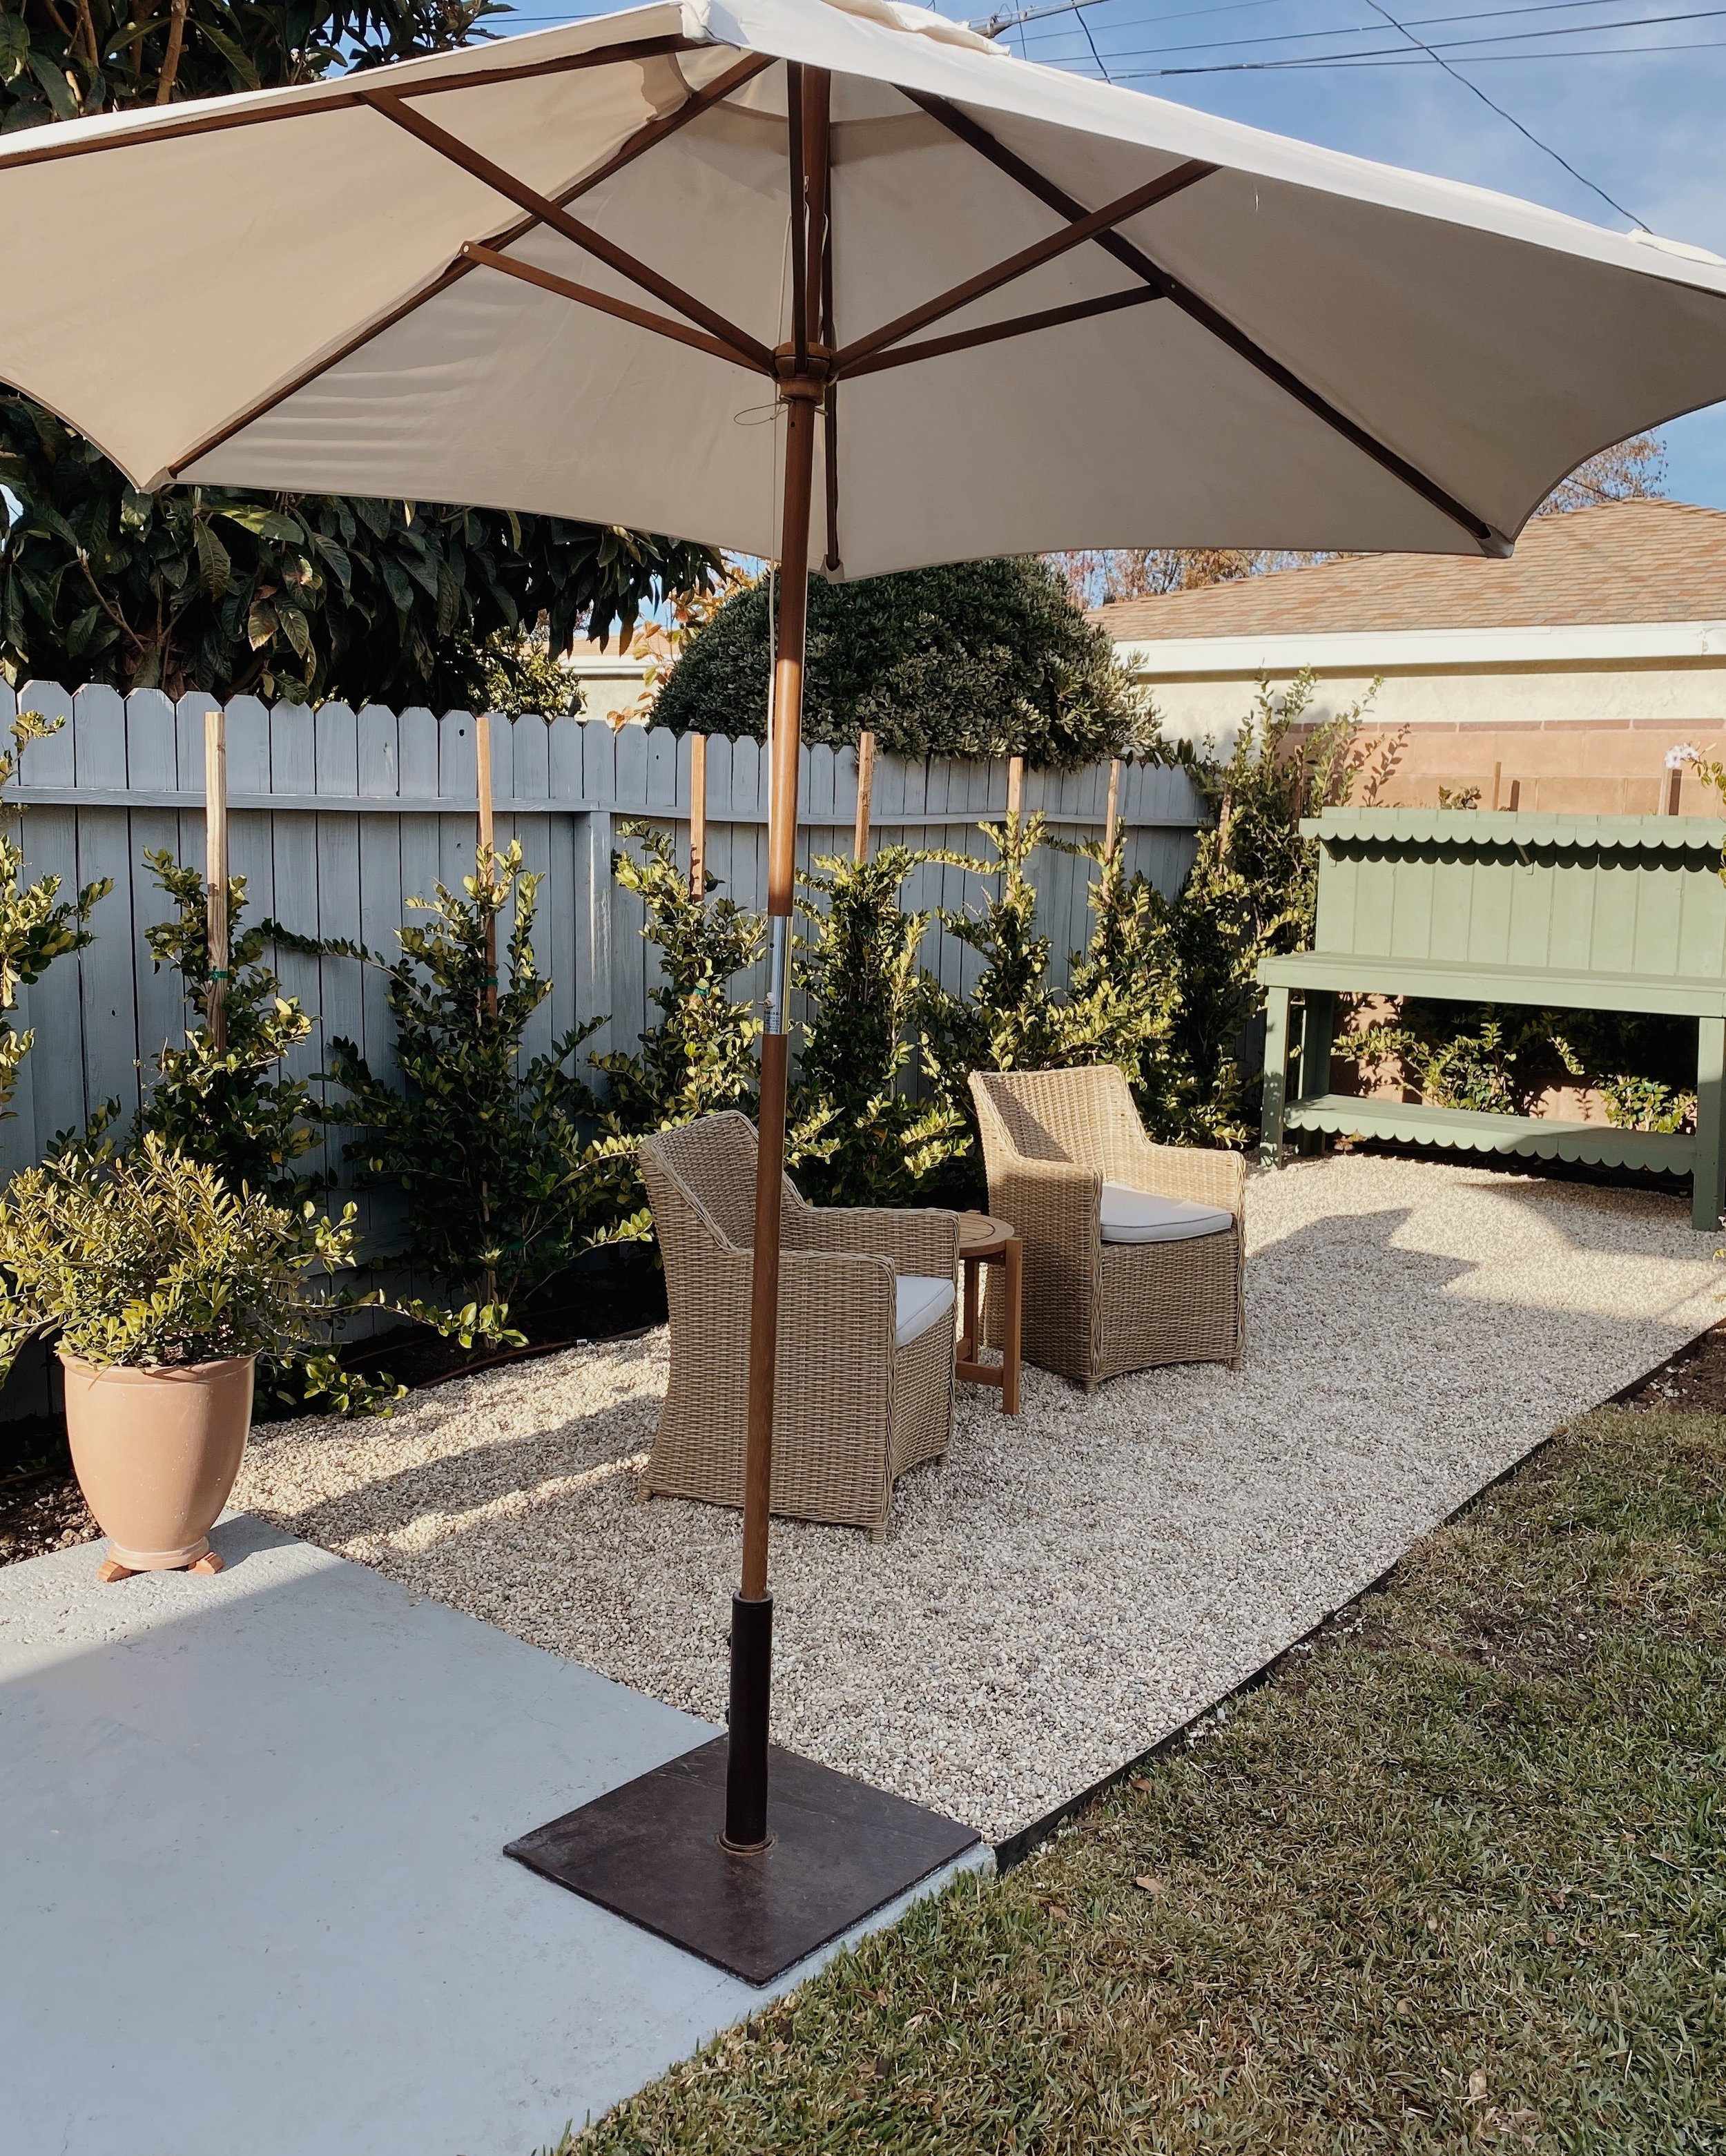


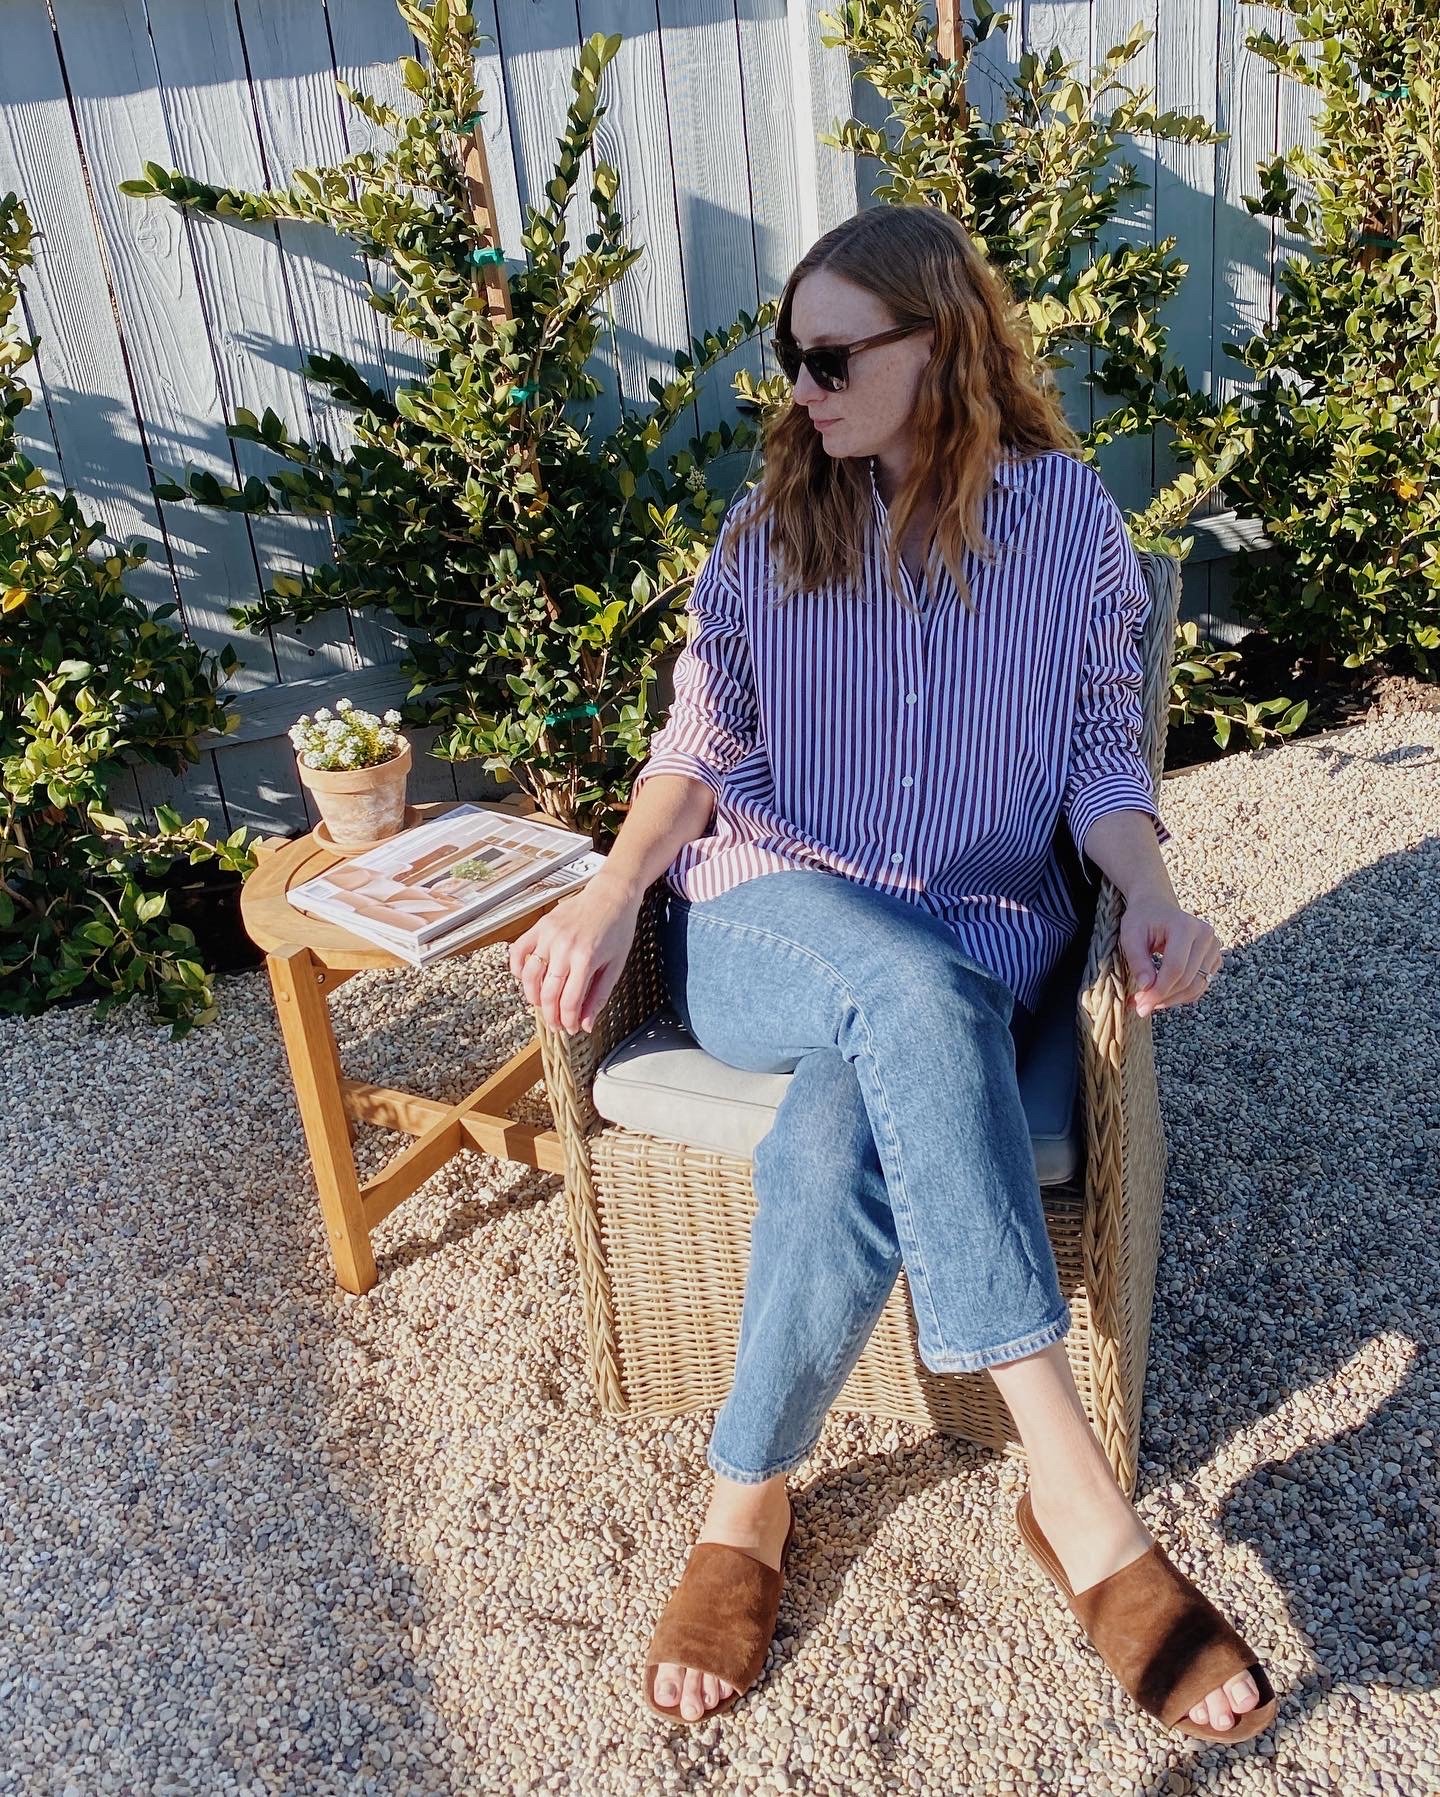
We are so so happy with how this space turned out! We’ve been enjoying having a new place to hangout and I now have a much nicer view out my office window. Being new to doing landscaping and yard projects, it’s so gratifying to see it come together as I envisioned it. We are going to be adding in some mulch on top of the irrigation and I’m now on the hunt for the perfect lounge chairs for this spot!